Splitting and Overlapping Tasks in Project
For MS Project courses available in Los Angeles and delivered by friendly instructors, call us on 888.815.0604.
In this article, we will learn how to:
- Split tasks
- Overlap tasks
Splitting Tasks
When you split a task, you break it into two or more separate parts so that parts of a task can start earlier or later than others. Most typically, a task is split when only part of a task is going to be delayed.
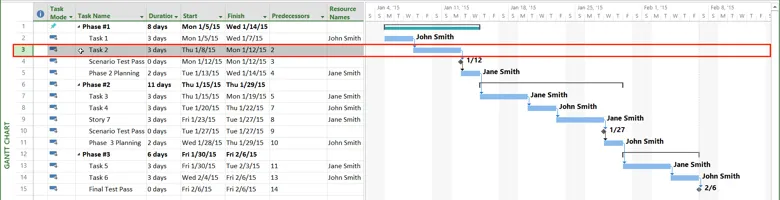
The first step to splitting a task is to select the task in question. For this example, click to select “Task 2:”
Next, click Task → Split Task ():
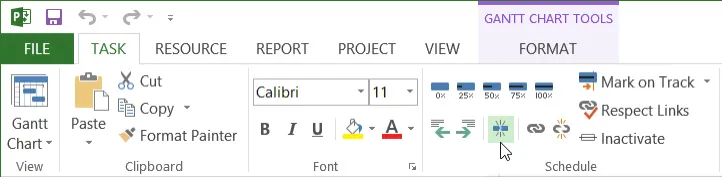
Your cursor will change to the split icon


Release your mouse button to split this task and position the second portion of the split. Once the split is inserted, the task time will be extended and the split time will be marked with a series of dots.

You may remove a split by clicking the Split button again and using your cursor to drag the furthest piece back toward the initial task. You can also use the Undo button if the split was the last action you performed.
Overlapping Tasks
By overlapping tasks, you can shorten the overall length of your project. For example, suppose that the project that you are working on is the filming of a movie. While ideally the screenplay should be done before the filming begins, you can start filming while the story is still being written.
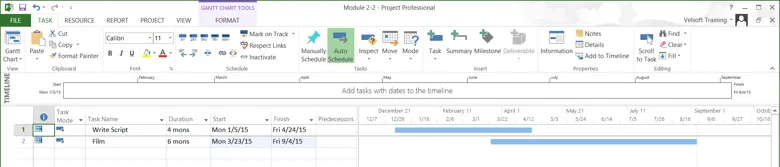
Examine the sample project and you will see just such a scenario:
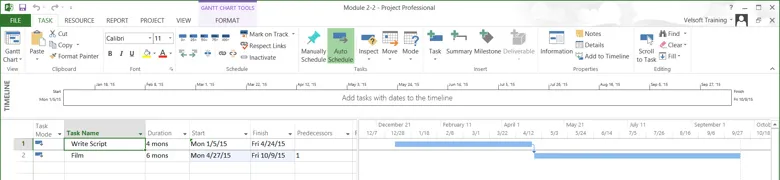
Suppose that you want the filming to begin once the writing of the movie is about three quarters complete. Do this by clicking and dragging the Film task’s Gantt bar into an overlapping position with the Write Script task:

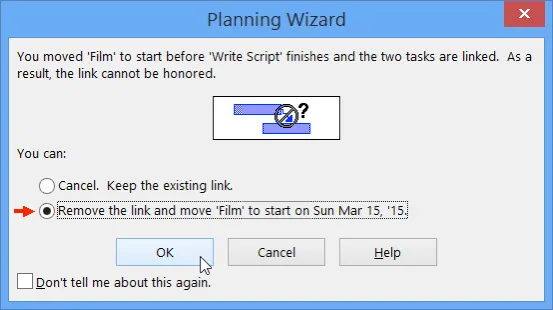
Release your mouse button. As these two tasks are linked and you moved the Film start date before the Write Script completion date, the Planning Wizard dialog will be displayed:
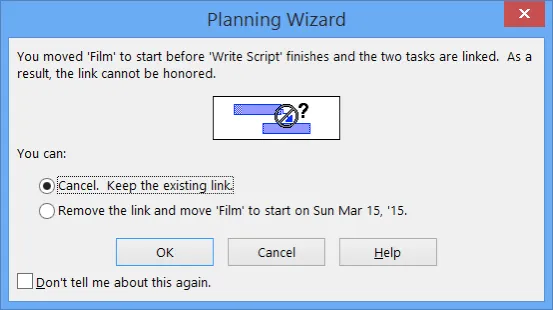
Click the “Remove the link…” radio button and then click OK:
The two tasks in this project will now overlap one another, but will no longer be linked:
Alternatively, you can also overlap tasks without removing a finish-to-start link. If you open the Predecessors tab on the Task Information dialog for the task in question, you can add negative lag time to a linked task to create overlap. Below you can see that negative one month lag time has been added to this task:
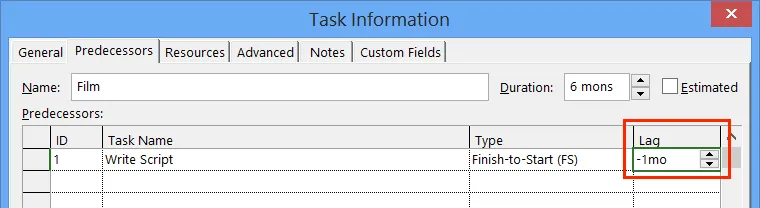
This negative lag time will produce the following result:

The tasks are still linked, but they overlap as well.
Always use caution when overlapping tasks because if you overlap tasks that use the same resources, a conflict could occur.
