Managing Tasks in Microsoft Project
In this article, will delve a little deeper into managing tasks within Projects.
For instructor-led Microsoft Project training in Los Angeles call us on 888.815.0604.
We will learn how to:
- Create recurring tasks
- Import tasks from Microsoft Outlook
Creating Recurring Tasks
Recurring tasks are tasks that happen regularly during the duration of your project. For example, recurring tasks could be used to indicate the creation of weekly status reports.
To create a new recurring task, click Task → Task → Recurring Task:

The Recurring Task Information dialog will open:
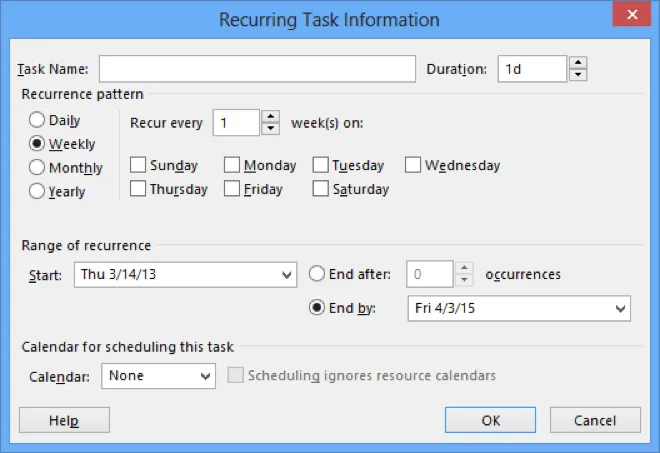
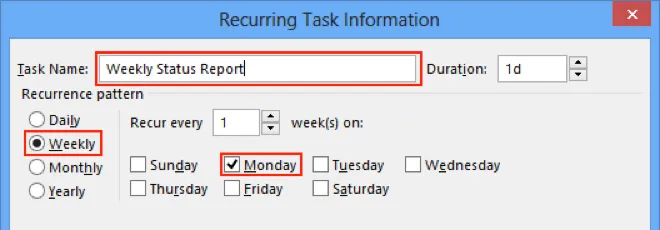
Use this dialog to enter basic information about the new recurring task. For this example, enter “Weekly Status Report” as the name for this task. Use the controls provided to set this new task to recur every Monday on a weekly basis:
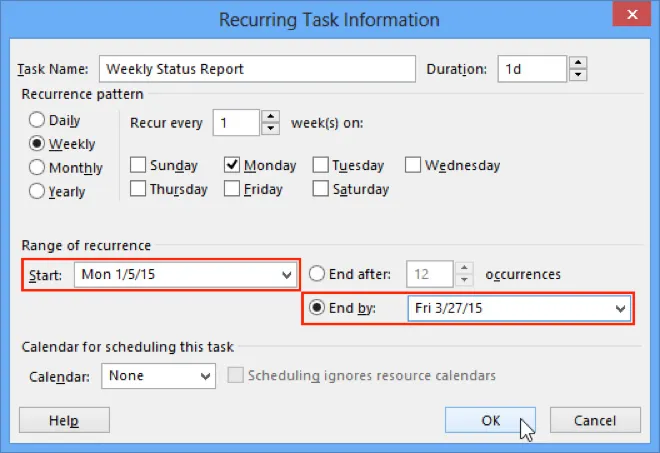
The options in the “Range of recurrence” section of this dialog control when this recurring task will start in the lifetime of the project and when it will end. By default, it will start on the date when the project was first created and end when the last task is set to complete. Ensure that the Start date for this task is set to Mon 1/5/15 and the “End by” date is set to Fri 3/27/15. Click OK:
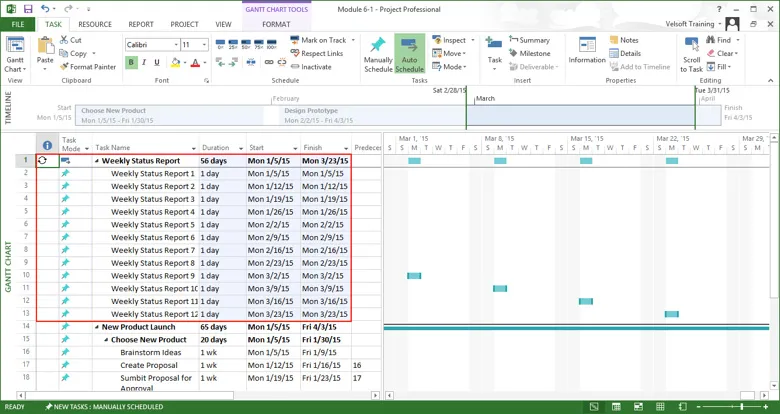
After a moment, Project will add all of the new recurring tasks to your project, organized under a new summary task:
Close Microsoft Project 2013 and save your changes.
Importing Outlook Tasks
Ensure that Gantt chart view is applied. To complete this exercise, you will need access to Microsoft Outlook 2007 or later. Also, please create a task in Outlook called “Prepare report for meeting” before proceeding.
As you may know, Microsoft Outlook allows you to create tasks. What you might not know is that you can import these tasks into Microsoft Project.
To import tasks from Outlook, click Task → Task → Import Outlook Tasks:

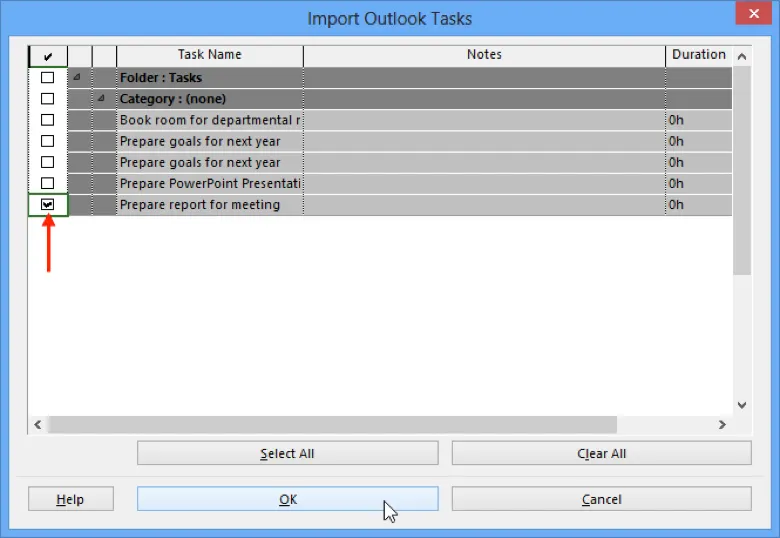
This action will open the Import Outlook Tasks dialog. (If you see a security warning, click Allow.) You will see all of the tasks that exist inside your current Microsoft Outlook mailbox or data file. To choose the tasks to import, you can click the Select All button, the folder checkbox, or each task’s corresponding checkbox. For this example, click the “Prepare report for meeting” checkbox. Click OK:
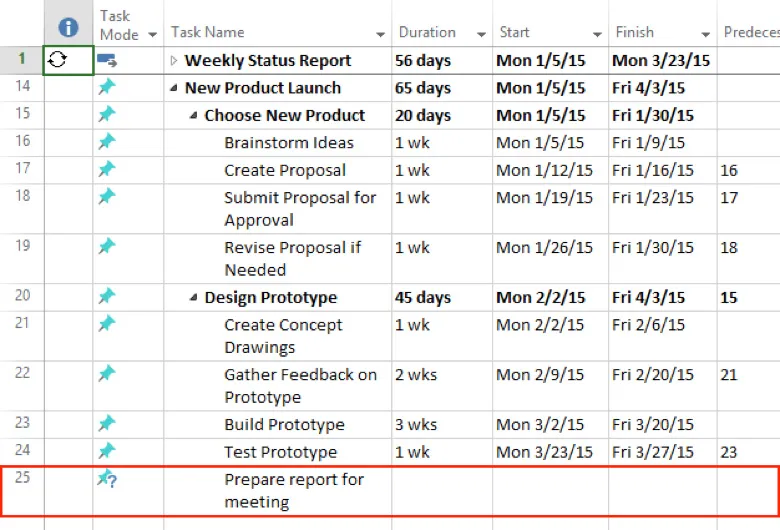
The Import Outlook Tasks dialog will close and the selected task will be imported into the sample project. The name of the task as well as its duration information (if any) will be included:
You can now work with the task as you would any other in Project.
Close Microsoft Project 2013 and save your changes.
