Rotating, Resizing, Duplicating and Deleting Shapes in Microsoft Visio
For instructor led Microsoft Visio training in Los Angeles call us on 888.815.0604.
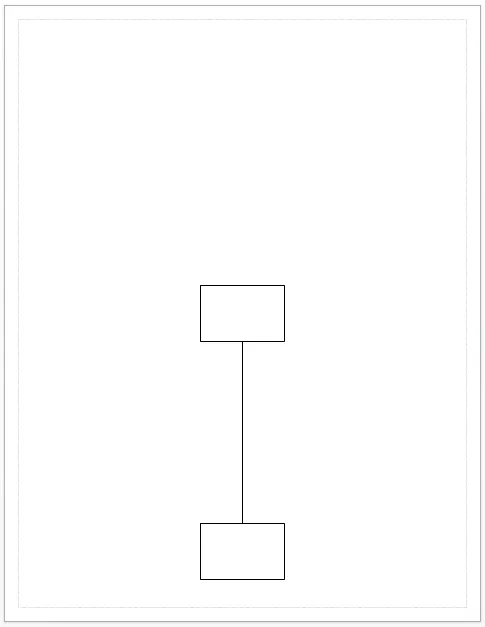
Rotating Shapes
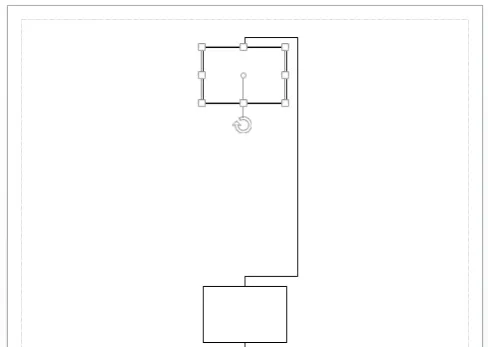
When you select a shape, you will see the rotate icon appear above it. This is used to rotate the selected shape in any direction. Click to select the top-most rectangle shape. Then, click and drag the rotate icon in a clockwise direction, until it is on its side:
![]()
Just as when moving a shape, you will see that the connector has automatically adjusted itself to accommodate for the connected shape’s new orientation.
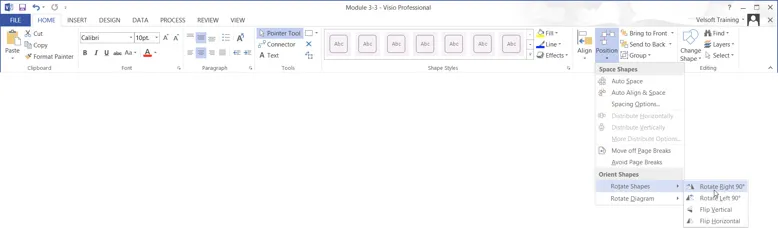
You can also rotate objects in set amounts by clicking Home → Position → Rotate Shapes. This menu will list four options, including rotating the shape right or left by 90° as well as flipping it vertically or horizontally. For this example, click Rotate Right 90°:
The selected rectangle will now appear upside down in relation to its previous orientation:
Resizing Shapes
To resize any shape, you first need to select the shape in question. For this example, click to select the top-most rectangle shape:
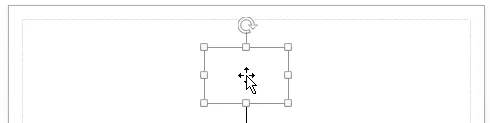
When a shape is selected, you will see a resize handle on each of its sides and corners. In the example above, you can see that there are eight of these handles in total. The resize handles on the sides of the shape are used to adjust the individual dimensions of the shape, while those on the corners adjust the overall size of the shape. To use these handles, click and drag them outwards to increase the size of the shape or inwards to decrease it (respectively). For this example, click and drag the resize handle in the bottom right-hand corner of the shape in an outward direction:
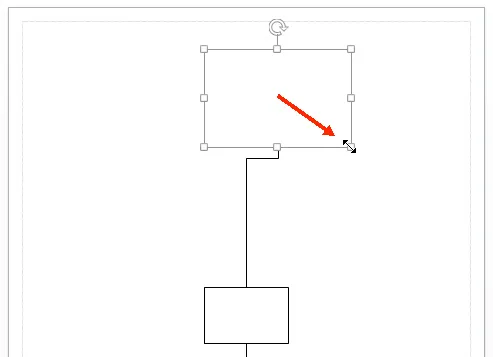
You will see that the size of the shape will increase in relation to how far you drag your cursor. Increase the size of the shape so that it is roughly double the original size. Release your mouse button to apply the new dimensions.
Duplicating Shapes
When creating diagrams in Visio, you will often find that you are using the same shape multiple times. To help save you time, Visio includes the ability to duplicate any shape on your page. Duplicate the top-most shape in the sample drawing by clicking to select it. Then, click Home → Paste → Duplicate:
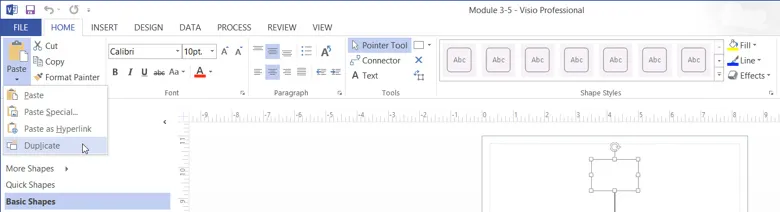
A duplicate of the selected shape will now appear on the page, partially overlapping the original:

Deleting Shapes
Delete the top-most shape in the provided sample drawing by clicking to select it and then pressing the Delete key on your keyboard. The shape and its connector will be removed. Your drawing should now look like this: