Formatting Tables in Microsoft Access Part A
For instructor-led MS Access training in Los Angeles call us on 888.815.0604.
In this Article, we will learn how to:
- Select data
- Change the height and width of rows and columns
Selecting Data
You may select data in a table in a number of different ways. To select an entire table of data, click the Table Selector button in the upper left-hand corner of Datasheet View:

To select an entire record, click the gray box to the left of the record you would like to select. Your cursor will change to a right-facing arrow when it is over this area:
![]()
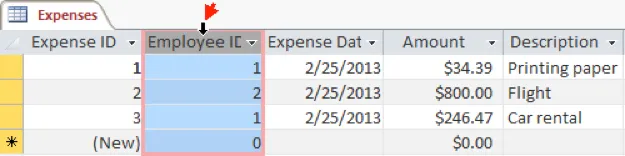
To select entire columns of data, click the gray column header buttons. For this example, click to select the Employee ID header. Your cursor will change to a downward-facing arrow when it is over this area:
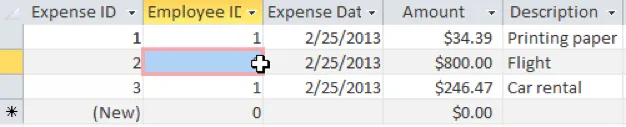
To select an individual cell, place your cursor close to any border of the cell in question until you see your cursor change to a cross (). Then, click to select that cell. For this example, select Employee ID “2:”
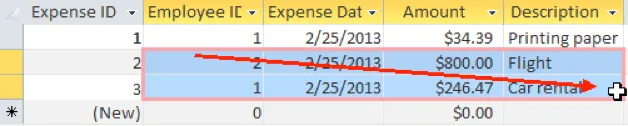
You also have the option of selecting a range of adjacent cells. For this example, click to select the Employee ID field where the value is “2.” With the mouse button still held down, drag your mouse down to the Description field with the value “Car rental:”
Once you have selected any combination of rows, cells, or columns, you can then copy and cut them as needed.
Changing Column and Row Width and Height
You may have noticed that when you add data to a field, it can appear cut off due to the dimensions of the row or column. For example, in the sample table, you can see that the Employee ID and Expense Date field titles are cut off:

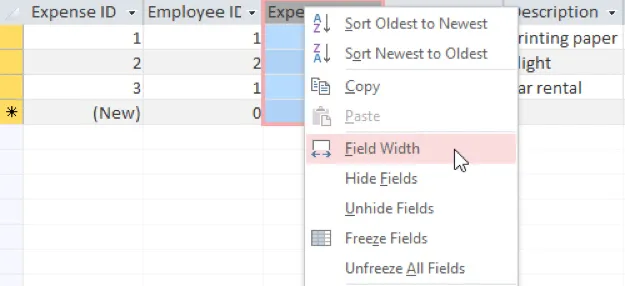
To adjust the field width, right-click the Expense Date field header and click Field Width from the context menu:
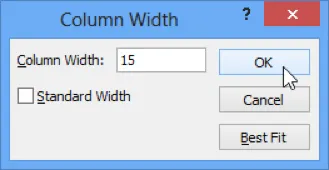
The Column Width dialog will then be displayed. Type a new value into the Column Width field. For this example, type “15.” Click OK:
The Expense Date field width will have increased to accommodate the field title:

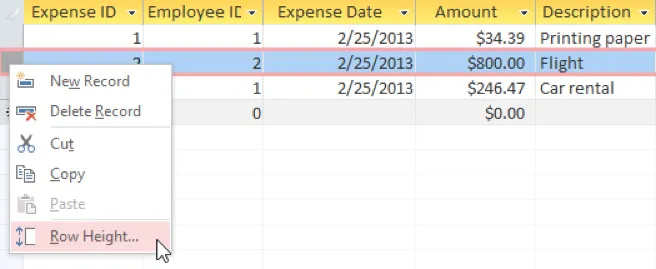
To adjust the row height, you follow basically the same procedure. However, you cannot adjust row height individually: any new values will be applied to all rows in the table. Right-click the row header for any record in the table and click Row Height:
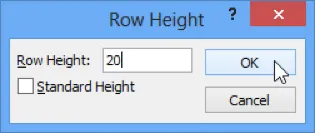
The Row Height dialog will then be displayed. Type a new value into the Row Height field. For this example, type “20.” Click OK to apply the new height:
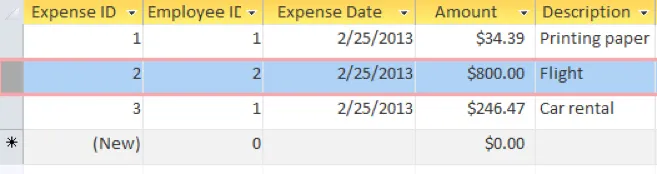
The row height will now have increased:
Save your changes.
