PowerPoint Drawing Tools
In this article, we will show you step-by-step how to draw shapes, change the fill, the fill effect and the border in Microsoft PowerPoint 2013.
For instructor-led Microsoft PowerPoint training in Los Angeles call us on 888.815.0604. Group Onsite PowerPoint training is available countrywide.
Drawing Options
-
Things you draw fall into two categories.
- One category includes lines, arcs, and freeforms.
- The other category includes rectangles, ellipses, and other shapes that we call AutoShapes. Each category has its own tools and attributes.
-
Drawn objects have attributes, just like other objects.
- For instance, they can have a border, a shadow, a colour, and so on. The Drawing Tools, Format Ribbon has icons you can use as shortcuts for commands such as Line Style, Fill, and Shadow.
- PowerPoint has a whole series of features for resizing, altering, and adjusting objects after you've drawn them. You can change any attribute at any time. For instance, you can change an object's colour, pattern, shadow, the colour of its text, or even the shape of the object itself after you've drawn it. Because there are lots of ways you can position objects on slides, you don't have to draw objects in exactly the right position. You can move, align, and reposition them at any time.
- You can treat drawn objects like all other PowerPoint objects you work with.
- You can cut, copy, and paste drawn objects. You can also duplicate, delete, resize, move, and colour them.
- You can attach text to shapes.
See PowerPoint video training resources
Drawing Shapes
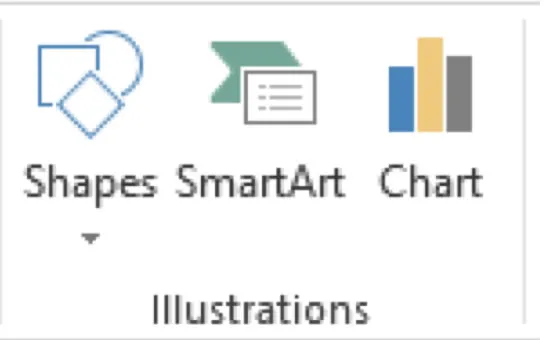
With PowerPoint 2013 you can insert shapes, draw lines, insert pictures and create WordArt by using the Illustrations group on the Insert Ribbon.
How to Draw Circles, Squares, and Auto Shapes
- Click the Insert Tab and select the Shapes Icon from the Illustrations Group.
- Select the shape you want.
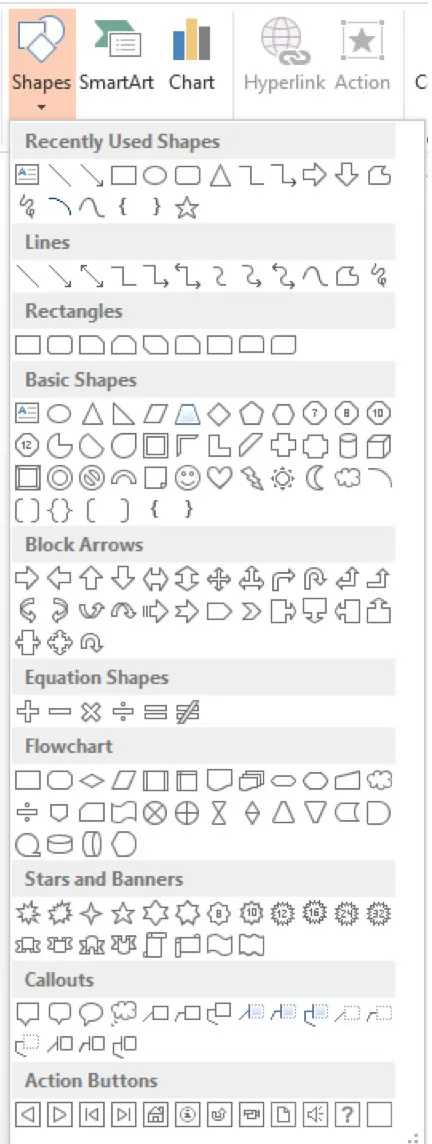
- The pointer turns into a cross hair when you move it over the slide.
- Click where you want the shape to begin, and then drag (Holding the Shift Key whilst dragging will assist in creating a straight line or a perfect square or circle).
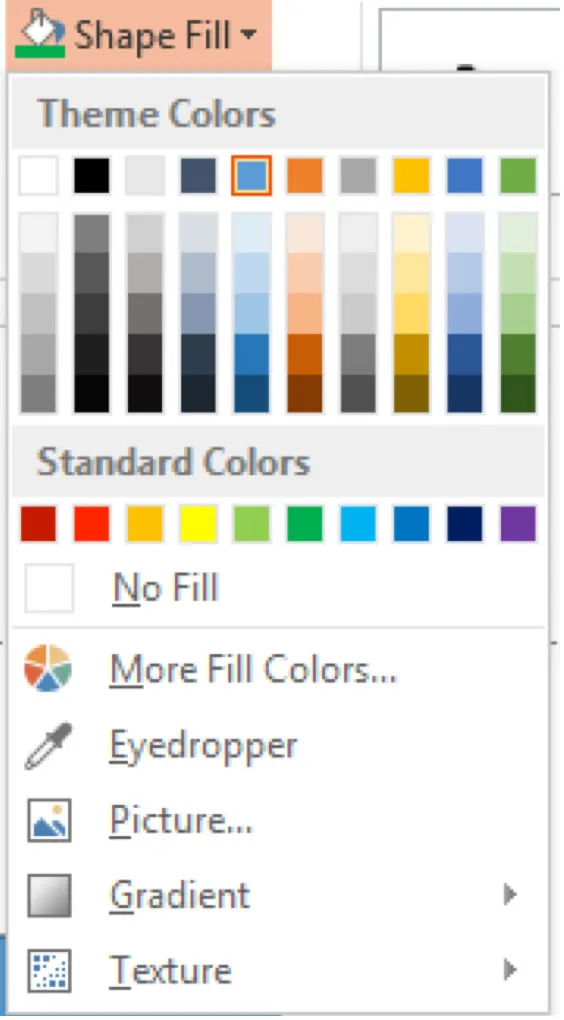
How to Change the Fill Colour of a Shape
- Select the Shape.
-
From the Drawing Tools, Format Tab choose style or colour from the Shape Fill icon.

How to Change the Fill Effect of a Shape
- Select the Shape.
- From the Drawing tools, Format Ribbon chose Gradient or Texture.
- Choose the appropriate tab, Gradient or Texture.
- For more options choose the More Gradients or More Texture options.
How to Change the Line Border and Border Colour of a Shape
- Select the Shape.
- Click the Shape Outline icon on the Format Tab of the Shape Tools Ribbon.
- Change the line style and colour if required.

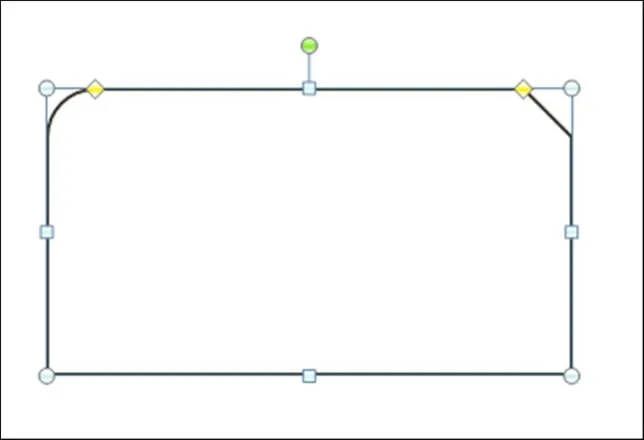
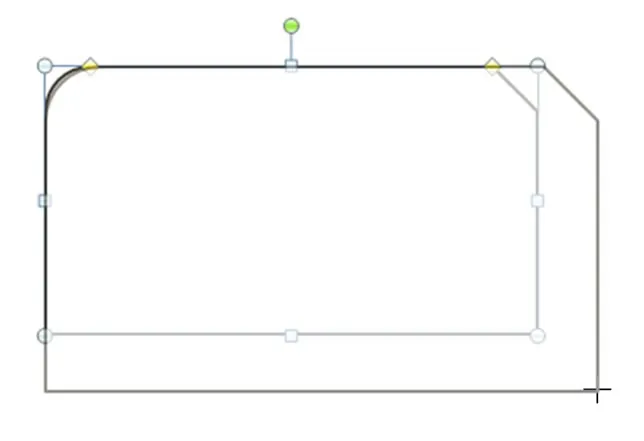
How to Resize a Shape
- Select the shape.
- Point to any of the resize symbols around the shape.
- The pointer changes to a double-ended arrow.
- Drag the double-ended arrow until the outline of the object is the right shape and size.
How to Type Text in a Shape
- Select the shape.
- Begin typing.
