Adding Tables in PowerPoint
In this article, we will show you step-by-step how to add and edit tables in Microsoft PowerPoint 2013. You will add a border and learn to sort a table.
For instructor-led PowerPoint training classes in Los Angeles call us on 888.815.0604. Onsite PowerPoint training is available countrywide.
How to insert a Table
- Insert a new Slide with the Title and Content layout.
- Click on the Table icon.
- Select the required number of rows and columns from the Insert Table Dialog.
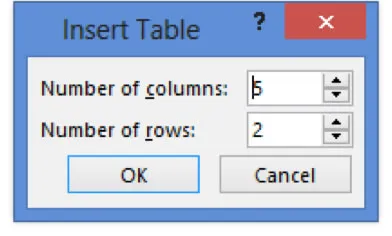
- Click OK.
- Click outside the border area to embed the table into PowerPoint.
-
On selecting a table the Ribbon will display two new Tabs. All Table layout and design commands are contained on these tabs


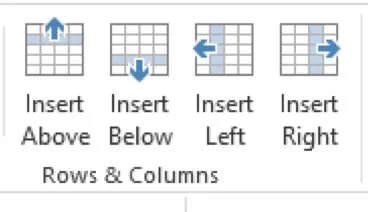
How to Insert Rows and Columns
- Position your cursor in the table.
- On the Table Tools, Layout ribbon select the desired icon.
- Choose Insert Rows Above or Below/or choose Insert Columns to the Left or Right
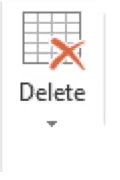
How to Delete Rows and Columns
- Click in the Column or Row to be deleted.
- On the Table Tools, Layout Tab Click the Delete button.
- Select to delete a Row or Column or the entire table.
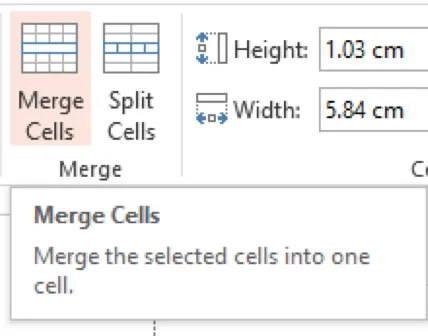
How to Merge Cells
- Select two or more adjacent cells.
- On the Table Tools, Layout tab.
-
Click the Merge Cells icon.

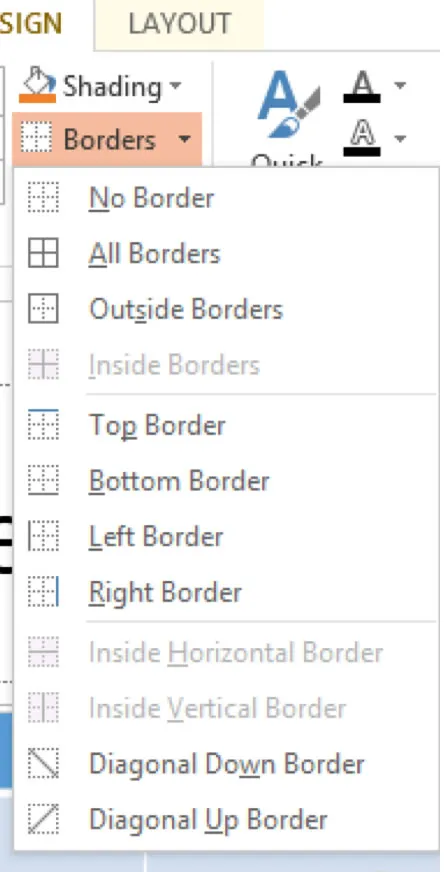
How to add Borders
- Select the table or cells to apply the border to.
- On the Table Tools, Design Tab, Table Styles group.
- Click the Borders icon.
-
Select the type of border required. The selected table cells will have the appropriate border applied.

How to Colour a Table
- Select the table or cells to apply the colour to.
- On the Table Tools, Design Tab, choose Shading.
- Select the colour you require.
- Click okay, the colour you chose will appear on the selected cells or table.
Sorting a table in PowerPoint
- You can sort text, numbers, or dates in ascending order (A to Z, zero to 9, or earliest to latest date). Or, you can sort in descending order (Z to A, 9 to zero, or latest to earliest date).
- If you sort by text Word first sorts items that begin with punctuation marks or symbols (such as !, #, $, %, or &); items that begin with numbers are sorted next; and items that begin with letters are sorted last. Keep in mind that Word treats dates and numbers as text. For example, dates are treated as three-digit numbers, and "Item 12" is listed before "Item 2."
- If you sort by numbers Word ignores all characters except numbers. The numbers can be in any location in a paragraph.
- If you sort by date Word recognizes the following as valid date separators: hyphens, forward slashes (/), commas, and periods. Word also recognizes colons (:) as valid time separators. If Word doesn't recognize a date or time, it places the item at the beginning or end of the list (depending on whether you're sorting in ascending or descending order).
- If you sort by a specific language Word sorts according to the sorting rules of the language.
- If two or more items begin with the same character Word evaluates subsequent characters in each item to determine which item comes first.
