Working with Contact Groups in Outlook
Outlook has some great tools for working with contacts and contact groups. In the this article we will show you how to create a contact group and manage its members, as well as how to send an email or meeting invitation to the group and how to forward the contact group.
These topics are covered in our Advanced Microsoft Outlook class.
Looking for group training? We run private instructor-led Outlook group classes. These classes will help you master Outlook and improve your productivity.
Call us on 888.815.0604 and we'll talk you through a few options that best suits your training requirements.
Creating a Contact Group
To create a new contact group, use the following procedure.
-
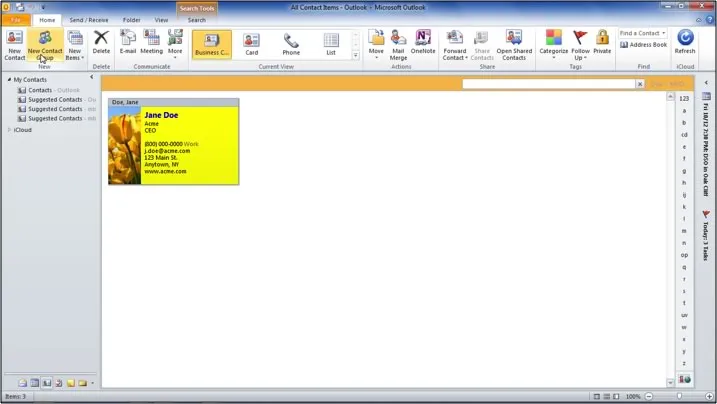
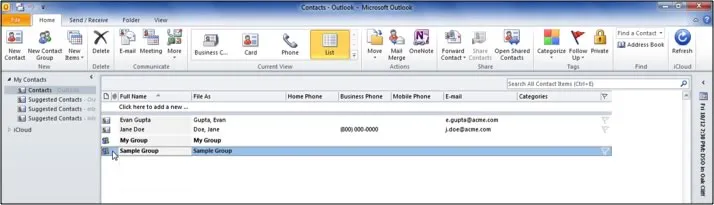
In Contacts view in Outlook, select New Contact Group from the Home tab on the Ribbon.

-
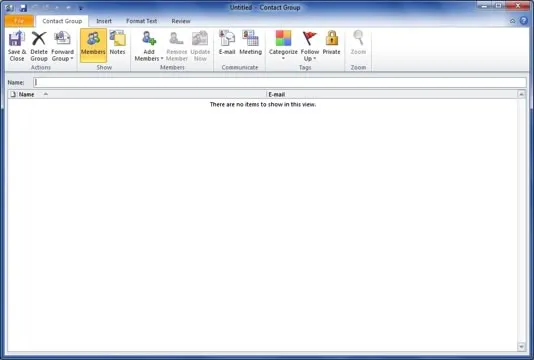
In the Contact Group window that opens, enter a Name for the group to help you remember its purpose. Also see advantages and disadvantages of the different methods of organization my Contacts.
- You can enter notes about the group by selecting Notes from the Contact Group tab on the Ribbon.
-
Select Add Members to build the group membership. Select one of the following:
- From Outlook Contacts
- From Address Book
- New Email Contact
-
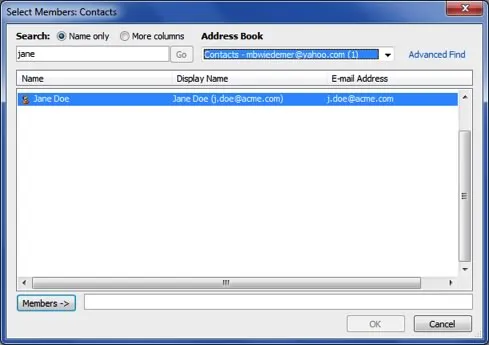
If you selected From Outlook Contacts or From Address Book, choose the name(s) from the Select Members dialog box.
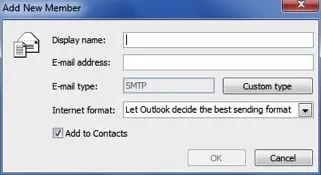
If you selected New Email Contact, enter the information in the Add New Member dialog box. Select OK.
- When you have finished adding members, select Save & Close to save your contact group information.
Managing Contact Group Members
To add members to the contact group, use the following procedure.
-
Open the Contact Group by double-clicking on it in the Contacts view in Outlook.

-
Select Add Members. Select one of the following:
- From Outlook Contacts
- From Address Book
- New Email Contact
-
If you selected From Outlook Contacts or From Address Book, choose the name(s) from the Select Members dialog box.
If you selected New Email Contact, enter the information in the Add New Member dialog box. Select OK.
- When you have finished adding members, select Save & Close to save your contact group information.
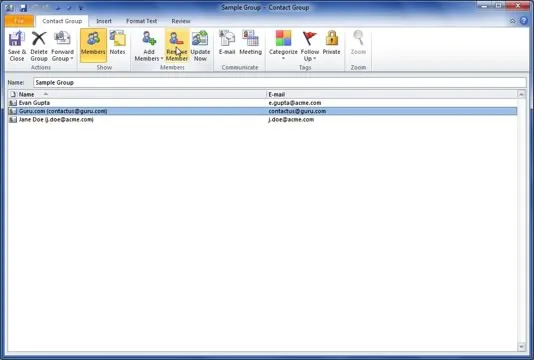
To remove members, use the following procedure.
- Open the Contact Group by double-clicking on it in the Contacts view in Outlook.
-
Highlight the contact you want to delete in the list.
- Select Remove Member. The member is immediately removed and there is no undo.
- When you have finished managing the group, select Save & Close.
Sending an Email or a Meeting Invitation to a Contact Group
To send an email to a contact group, use the following procedure.
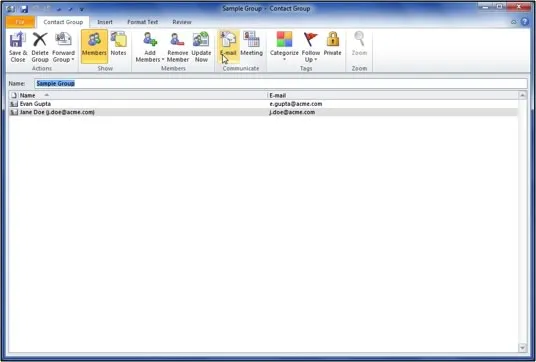
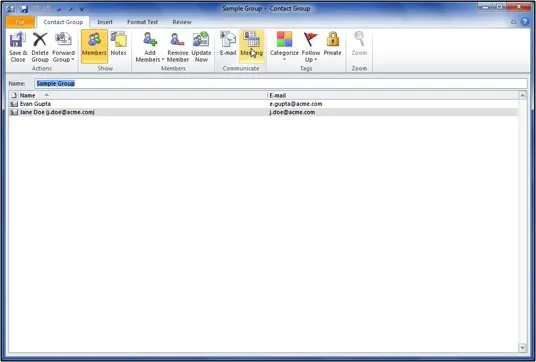
- Open the Contact Group by double-clicking on it in the Contacts view in Outlook.
-
Select Email from the Contact Group tab on the Ribbon.
-
Outlook opens a new email with the contact group already added in the To field.
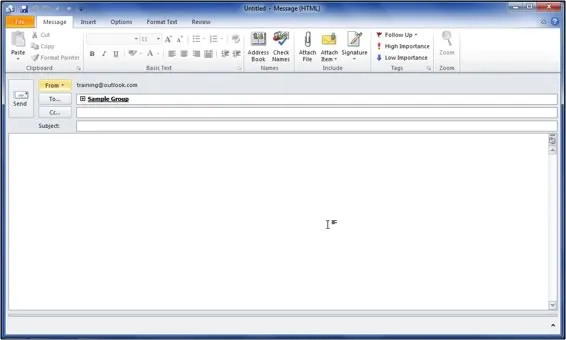
Note that you can also simply type in the group name when addressing a new, reply to or forward email.
To send a meeting invitation to a contact group, use the following procedure.
- Open the Contact Group by double-clicking on it in the Contacts view in Outlook.
-
Select Meeting from the Contact Group tab on the Ribbon.
- Outlook opens a new meeting invitation with the To field already completed with the group.
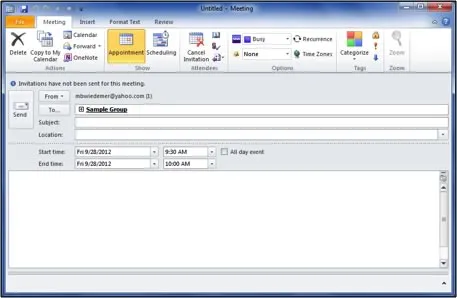
Note that you can also simply type in the group name when creating a meeting invitation.
Also read 10 reasons to love the new Outlook.com.
Forwarding a Contact Group
To forward a contact group, use the following procedure.
- Open the Contact Group by double-clicking on it in the Contacts view in Outlook.
-
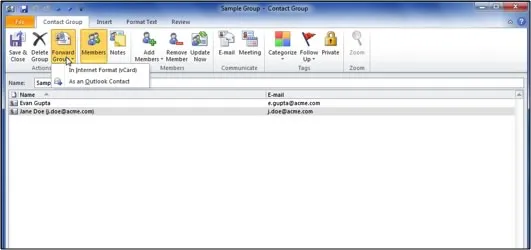
From the Contact Group tab on the Ribbon, select Forward.
-
Select one of the following:
- In Internet Format - to forward the information to someone else as a vcard.
- As an Outlook Contact - to forward the information to someone else in Outlook format.
- Outlook opens a new email message with the contact group information attached in the format you selected.
Also see Adding a Signature in Outlook
