Advanced Animation Techniques, Part Two
In this article, we will continue to explore advanced animation techniques and how to use them in Microsoft PowerPoint.
For classroom based PowerPoint training delivered by friendly instructors and available in Los Angeles, call us on 888.815.0604. We also provide Onsite PowerPoint training available countrywide.
In this Article, we will learn how to:
- Edit the motion path of an animation
- Set animation start options
- Modifying Duration and Delay
Editing the Motion Path
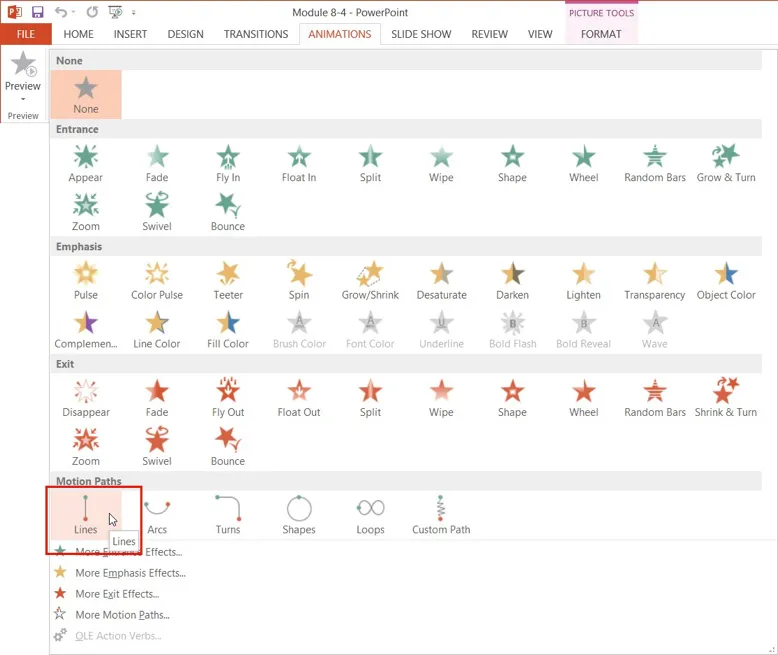
PowerPoint allows you to control the path of an animation as well. To start, select the target object. (In this case, click the picture on the second slide in the sample presentation.) Click the Animations tab, click the More arrow inside the Animation gallery, and click the Lines motion path:
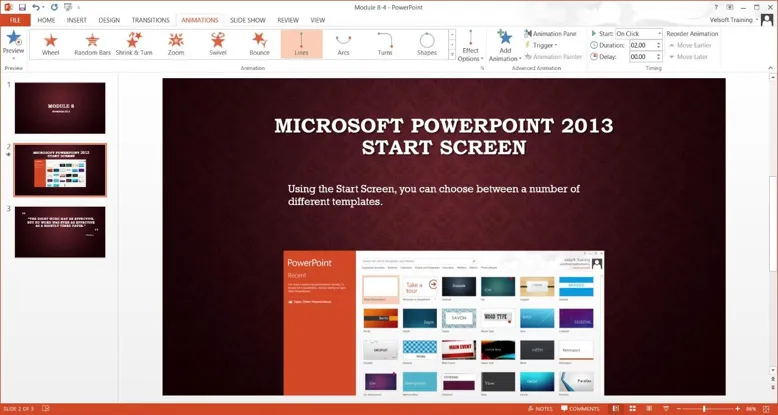
Once a motion path has been applied, it will immediately be previewed. In this example, you can see that the default setting for the motion path takes the image too far down the slide, clipping the bottom of the image:
To edit a motion path, you first need to select it. It may be hard to see, but it looks like a dashed line with a green and red handle at either end. Click on it to select it:
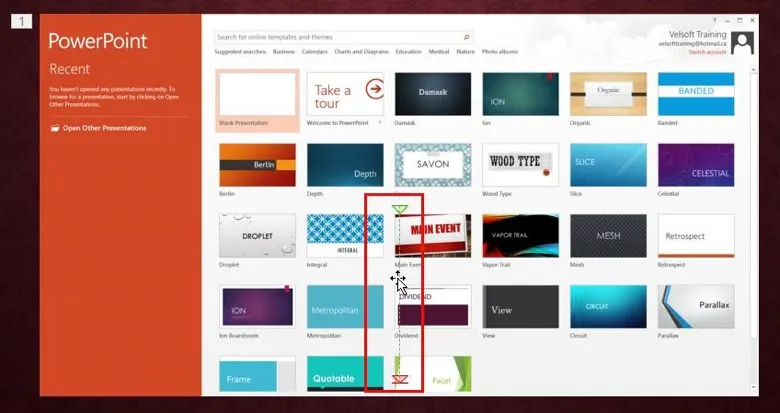
The green handle identifies the start position of the animation, while the red handle marks the end position. For this example, you need to change the end position, so click and drag the red handle upwards:

As you drag this handle, you will see a transparent preview of where the image will appear at the end of the animation. Move the end position of this animation so that it appears within the boundaries of the current slide, but so there is room for the underlying text:
Release your cursor when the image is properly positioned to finish editing the motion path. Click Animations → Preview:

If necessary, continue editing the motion path until the animation is in the correct place.
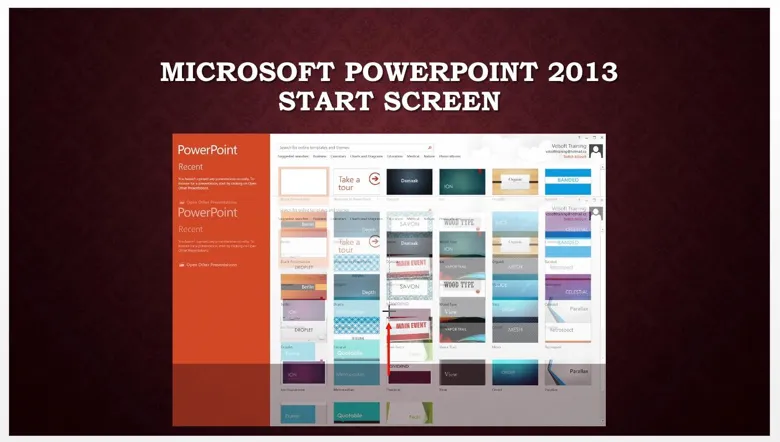
The animation will now move lower in the slide without cutting the image off. In addition, there is enough room for the underlying text to be displayed:

Setting Start Options
You can also control when animations play. To start, you first need to select the object that has an animation applied to it.
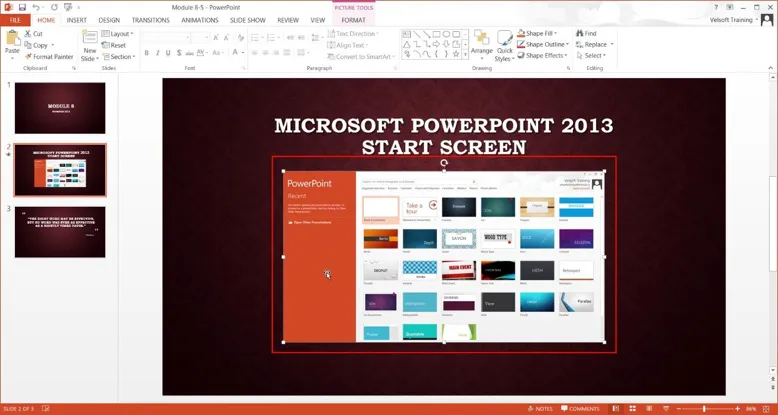
For this example, select the image on the second slide of the sample presentation:
Next, click Animations → Start:

The options in this drop-down menu include On Click, With Previous, and After Previous:
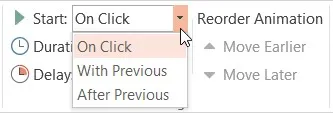
On Click, which is the default setting, will start the animation after a mouse click. With Previous will trigger this animation at the same time as the previous one. After Previous, on the other hand, will trigger this animation after the previous one is complete.
Modifying Duration and Delay
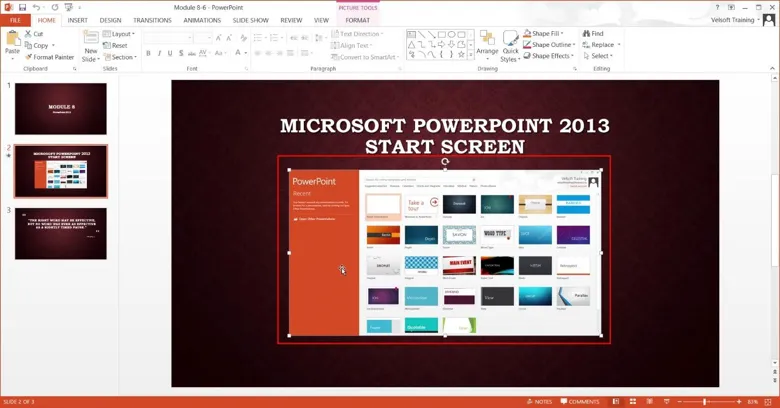
You can control the duration and delay of an animation by first selecting the animated object. For this example, select the image on slide two:
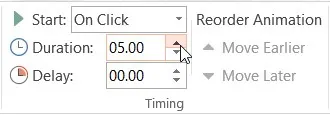
The options to control the duration and delay of an animation can be found within the Timing group of the Animations tab:

The Duration increment box controls the length of time the animation will run, while Delay controls the delay between the start action and the animation starting. Increase the duration to five seconds:
See how this new change will affect the animation by clicking Animations → Preview:

As you can see, the animation is much slower now.
