Working With Tables in Excel
For classroom based, instructor-led MS Excel training and courses in Los Angeles call us on 888.815.0604.
In this article, we will learn about:
- What tables are
- Create tables
- Resize tables
What is a Table?
To facilitate data analysis and management, you have the ability to turn any range of cells into a table. You can have multiple tables per worksheet, and tables can be as large or small as the amount of data you want to work with.
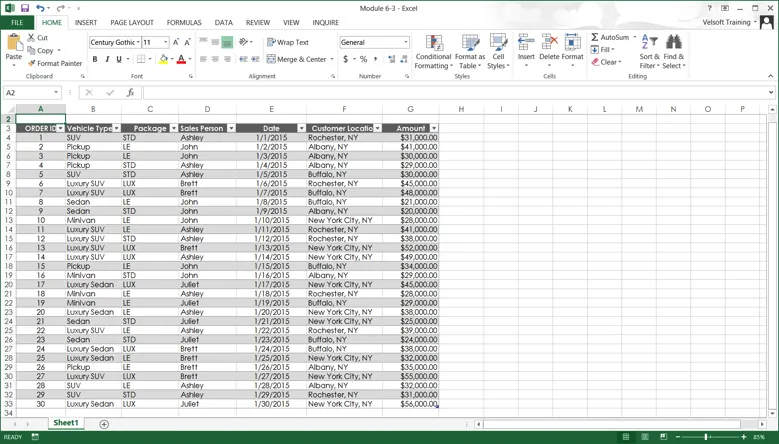
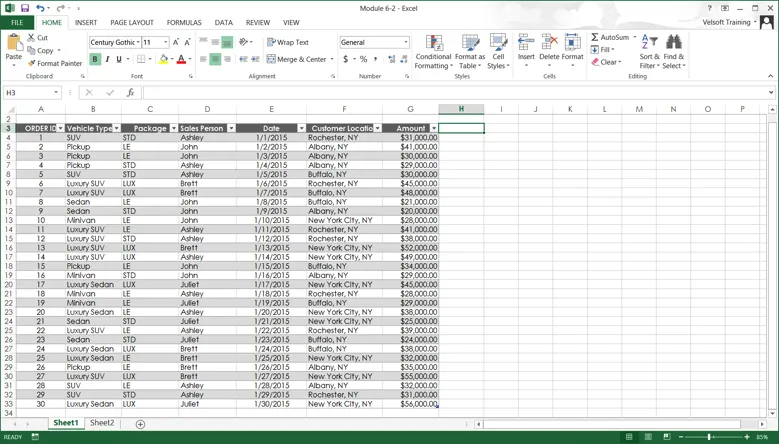
Tables are made from adjacent columns of data, with a unique label or heading for each column. Each row in the table should have entries organized according to the column headings. This design is well suited for data organized in long, adjacent, list-like columns. In the example shown below, you can see a basic table:
By using the table features, you can manage data in table rows and columns independently from the rest of the data on the worksheet. For example, clicking on the column headers allows you to filter the data, as well as sort it using a variety of criteria.
Creating Tables
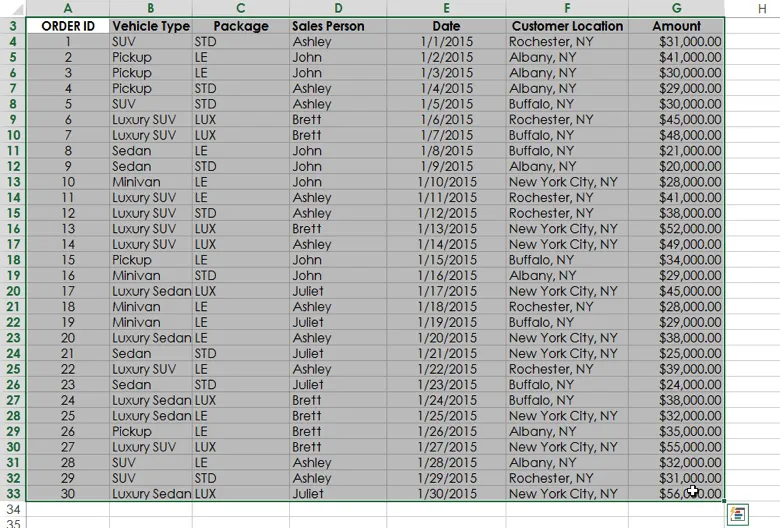
To create a table using existing data, first select the entire range of data that you are going to be working with. For this example select cells A3:G33:
Next, click Insert → Table:

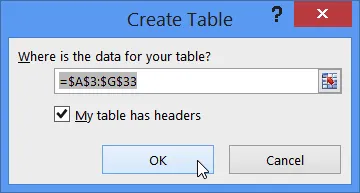
The Create Table dialog will be displayed. On this dialog you will see a text box that shows the cell ranges that you had previously selected, as well as a checkbox that indicates if your data includes headers. If you were creating a table from scratch, you would leave the header option deselected. Leave these settings unchanged and click OK:
Deselect the previously selected cell range and you will see that this cell range has been transformed into a table:
To create a table from scratch you would follow the same steps. Highlight the range of cells that you want to be included in the table, click Insert → Tables, and click OK on the Create Table dialog.
Resizing the Table
After you have inserted a table into your workbook you can still adjust its dimensions and cell range when needed.
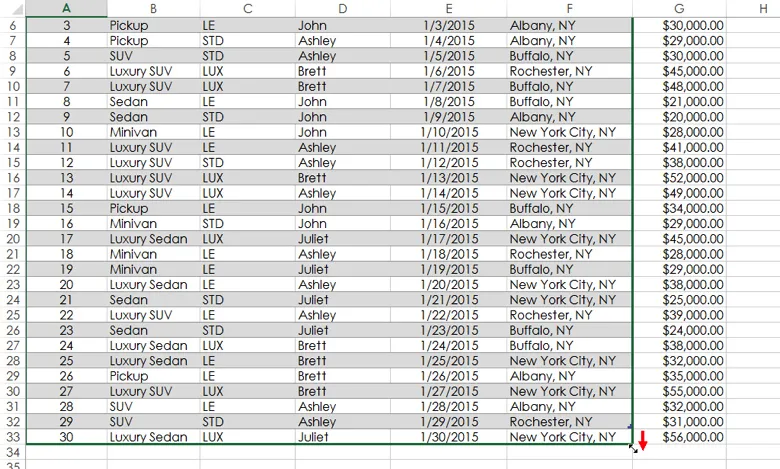
In the provided sample workbook, you will see that a row and column were not included in the existing table. To change this, first move your cursor to the bottom right-hand corner of the table where a small resize handle is present. When your cursor is in position it will change to a double-headed diagonal arrow:

Click and drag this handle in a downward direction until you see the green outline for the table include the missing row (33):
Release your cursor and the row, including its data, will be included in the table:
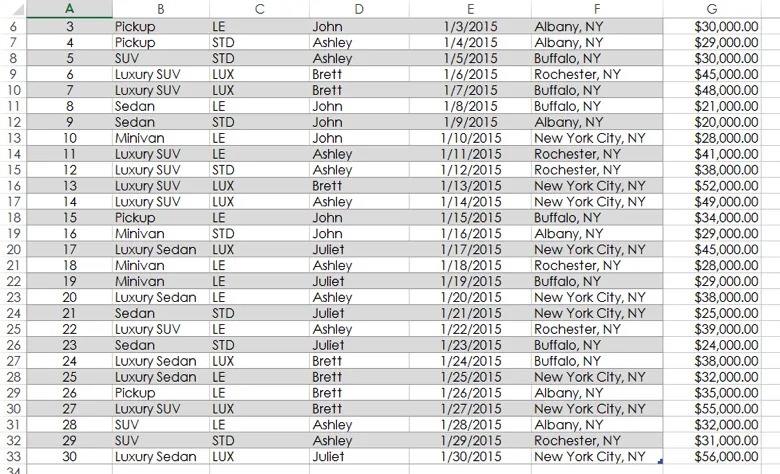
Repeat this process, but drag the resize handle towards the right to include the G column:
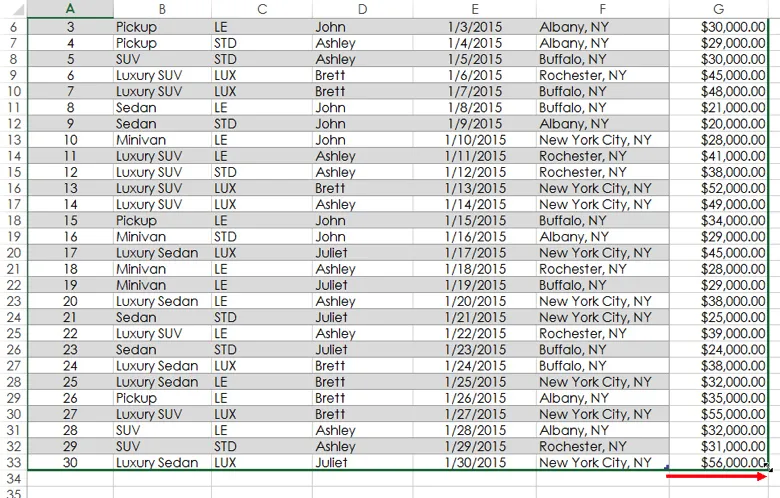
Now column G and its existing data will be included in the table: