Working with the PowerPoint Interface
In this article, we’ll introduce you to the PowerPoint 2013 interface, which uses the Ribbon from the previous two versions of PowerPoint. You’ll get a closer look at the Ribbon, as well as the Navigation pane and the Status bar. You’ll also learn how to manage your Microsoft account right from a new item above the Ribbon. This module introduces you to the Backstage view, where all of the functions related to your files live. You’ll learn how to save files. Finally, we’ll look at closing files and closing the application.
For instructor-led PowerPoint classes in Los Angeles call us on 888.815.0604.
Understanding the Interface
The PowerPoint interface, including the Ribbon, the Slides tab, the presentation window, the Notes pane, the Comments pane, the Quick Access toolbar, and the Status bar.
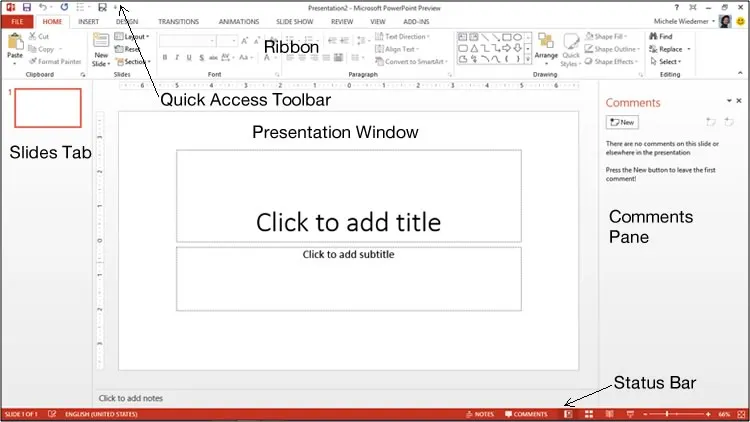
- The Slides tab shows a thumbnail of each slide in the presentation.
- The presentation window is where you can view and edit the entire slide.
- The Status Bar shows the current slide number, as well as the total slides, as well as the language setting for proofing. It also has additional tools for making changes to the view or zoom. If the Notes and Comments pane are not showing, just click on those icons on the Status bar to show them.
- The Notes pane allows you to add speaker notes to the presentation. You can print speaker notes to use when delivering a presentation.
- The Comments pane allows you to add comments to a presentation, especially helpful when working with a team to develop the presentation.
Each Tab in the Ribbon contains many tools for working with your presentation. To display a different set of commands, click the Tab name. Buttons are organized into groups according to their function.
The Quick Access toolbar appears at the top of the PowerPoint window. It provides you with one-click shortcuts to commonly used functions, like save, undo, and redo.
To zoom in or out, use the following procedure.
- Click the minus sign in the Status bar to zoom out. Click the plus sign in the Status bar to zoom in. You can also drag the slider to adjust the zoom.
![]()
An Introduction to Backstage View
Review the Backstage View, use the following procedure.
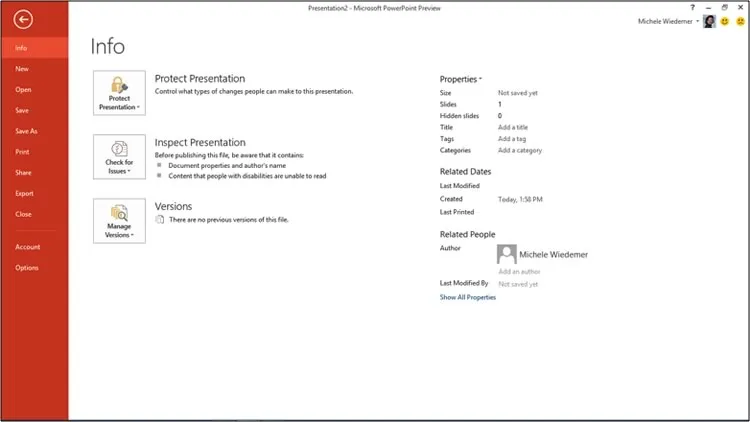
- Select the File tab on the Ribbon.

PowerPoint displays the Backstage View, open to the Info tab by default. A sample is illustrated below.
Saving Files
To save a presentation that has not been previously saved, use the following procedure.
- Select the File tab on the Ribbon.
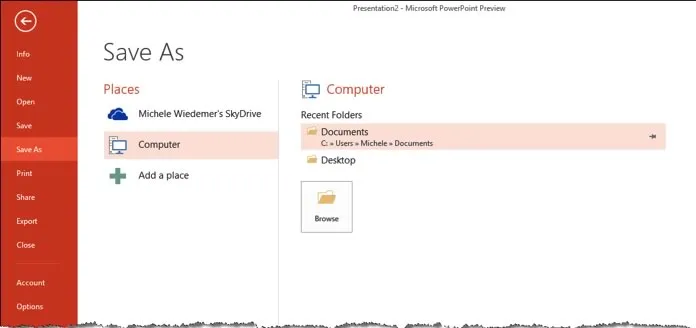
- Select the Save command in the Backstage View.
- Select the Place where you want to save the presentation.
-
If you choose your SkyDrive, you can select the Presentations folder. If you choose your Computer, select your Current Folder or one of your Recent Folders. Or in either place, you can choose Browse to select a new location.

- The Save As dialog opens. Enter a File Name, and if desired, navigate to a new location to store the file. Select Save.
Closing Files vs. Closing PowerPoint
To close a file, use the following procedure.
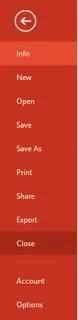
- Select the File tab from the Ribbon.
- Select Close from The Backstage View.
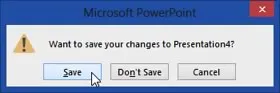
If you haven’t saved your file, you will see the following message.
To close the application (if only one presentation is open), use the following procedure.
- Click the X at the top right corner of the window.