Starting a Project in Microsoft Project
In this article, you’ll get started using Microsoft Project by creating a basic project and setting up the project schedule. You’ll add tasks to your project and set constraints on those tasks to further customize your project.
For instructor-led Project classes in Los Angeles call us on 888.815.0604.
Creating a Basic Project
The Project Information dialog box allows you to determine the start (or finish) date for your project to determine accurate scheduling. Use the following procedure to schedule a project start date.
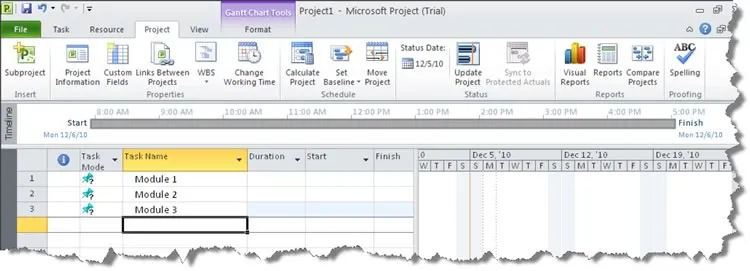
- Select the Project tab.
- Select Project Information.

The system opens the Project Information dialog box.
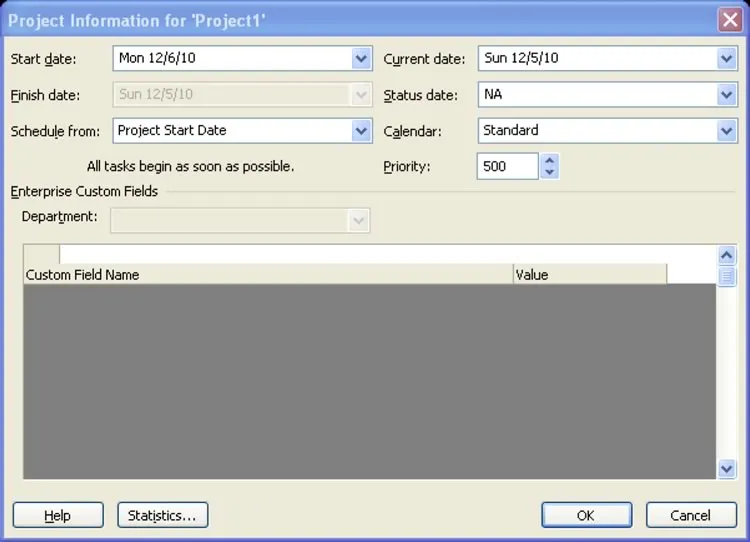
- Select the arrow next to Start date to choose a date from the calendar.
While you have the Project Information dialog box open, discuss some of the other options. You can select Project Finish Date for Schedule from and choose the date you would like the project finished instead. The Current Date and Status Date allow you to change the viewpoint when reviewing or reporting on details about your project. The Calendar sets the default calendar for determining the schedule.
- Select OK to set your schedule start date.
Adding Tasks to your Project
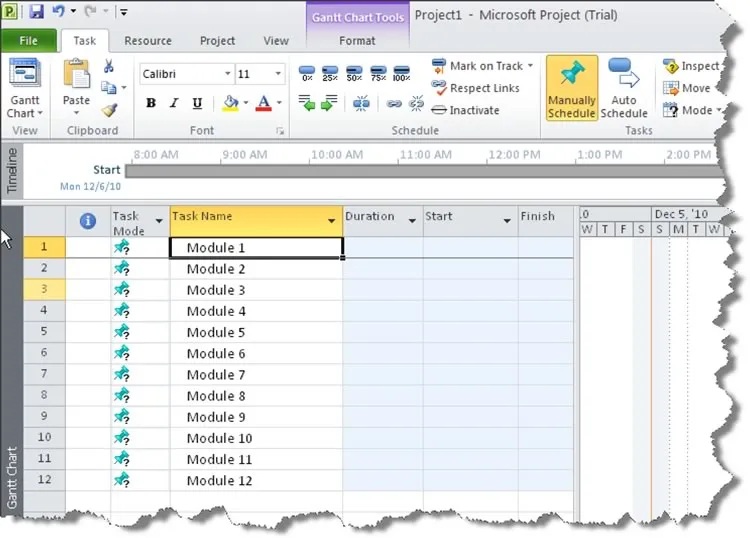
The left side of the Gantt chart in the default view works like a spreadsheet. You enter each task on a new row. You can add as much or as little information about the task as you like to get started. You can enter the tasks manually or paste the information from another program (such as Word or an email message).
Use the following procedure to add tasks to a project.
- In the Task Name column on the left side of the Gantt chart, enter the name of the task and press Enter.
- Continue entering task names for as many tasks as you want to enter.
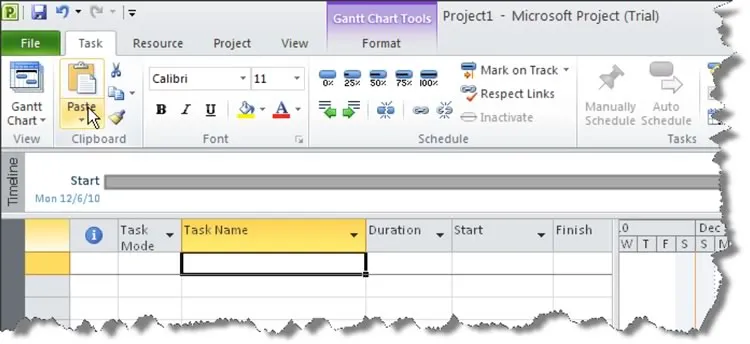
Use the following procedure to add tasks to a project by pasting.
- Copy the information from another program. In this example, text is taken from a Notebook file (.txt).
- Place your cursor in an empty row in the Task Name column.
- Select the Task tab from the Ribbon.
- Select Paste.
Setting Constraints on Tasks
The Task Details form is another way to enter task information. The form includes information on constraints. Constraints are restrictions set on the start or finish date of a task.
There are several types of constraints:
- As soon as possible
- As late as possible
- Finish no earlier than
- Finish no later than
- Must Finish On
- Must Start On
- Start No Earlier Than
- Start No Later Than
Use the following procedure to open the Task Details form and set a constraint type and date.
- Select the Display Task Details icon from the Task tab on the Ribbon. It is located in the Properties area.
![]()
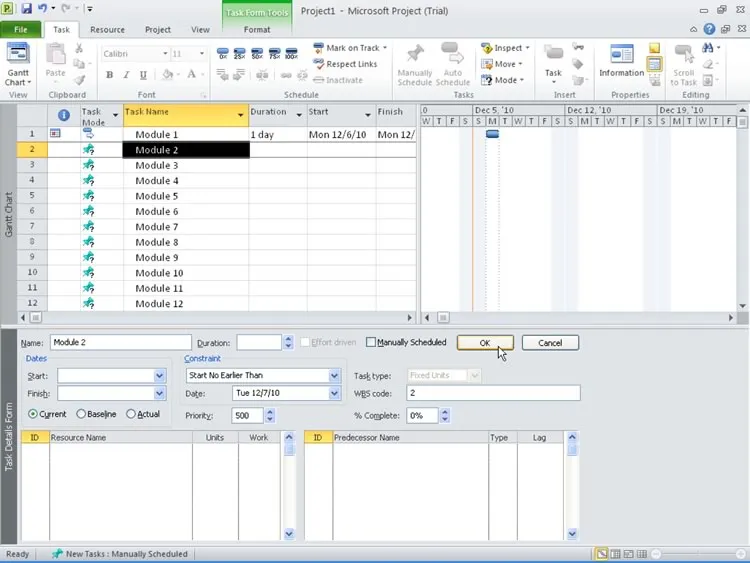
The system displays the Task Details Form in the bottom area of the screen.
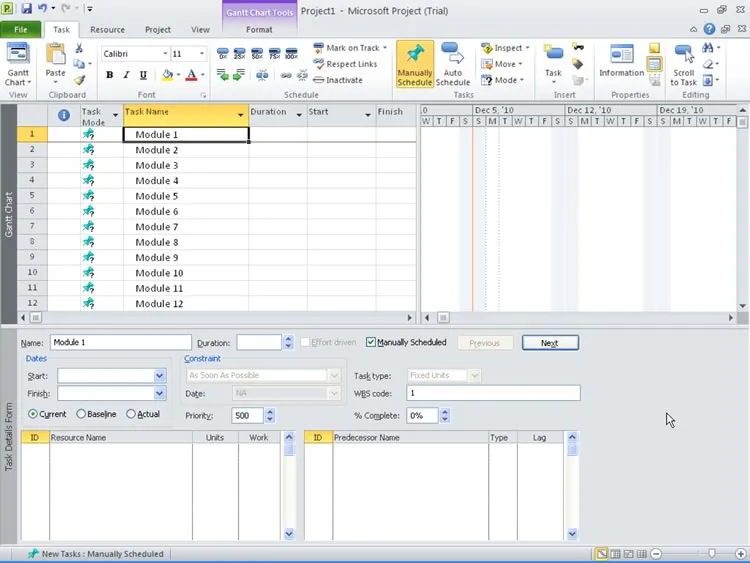
- You can use the Next or Previous buttons to select the task for which you want to set a constraint.
- Uncheck the Manually Scheduled box. Constraints are ignored for manually scheduled tasks.
- Select the Constraint type from the drop down list.
- Select the arrow next to the Constraint date and select the constraint date from the calendar.
- Select OK.