Your First Visio Drawing
In this module, you will create your first drawing. Drawings consist of shapes. This module will cover how to find the right shape and place it on your drawing. You’ll learn how to add text to shapes. You’ll learn how to work with shapes, including resizing, moving, and deleting shapes. This module will also cover using the Tools group, which helps with refining your shapes. Also see setting up the Visio screen.
Why not join our Training Connection family of satisfied students by signing up to one of our friendly, fun and informative Microsoft Visio classes? Call us on 888.815.0604 and we'll talk you through a few options that best suits your training requirements
Finding the Required Shape
The Shapes pane allows you to search through different categories to find the shape that you need. You can expand or collapse categories as you use them. You can use the Search Shapes tool to search for shapes within Visio, and you can even look for more shapes online.
Us the following procedure to open a stencil.
- Select More Shapes from the Shapes pane.
- Select a Category.
- Select the Shape stencil you want.
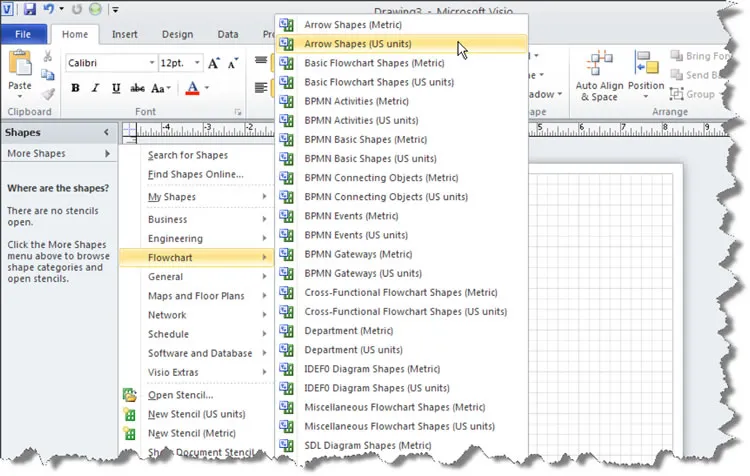
Visio displays the shapes in that stencil in the Shapes pane.
![]()
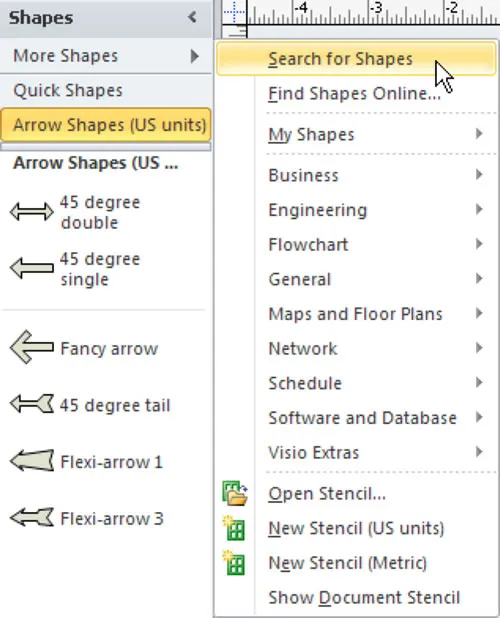
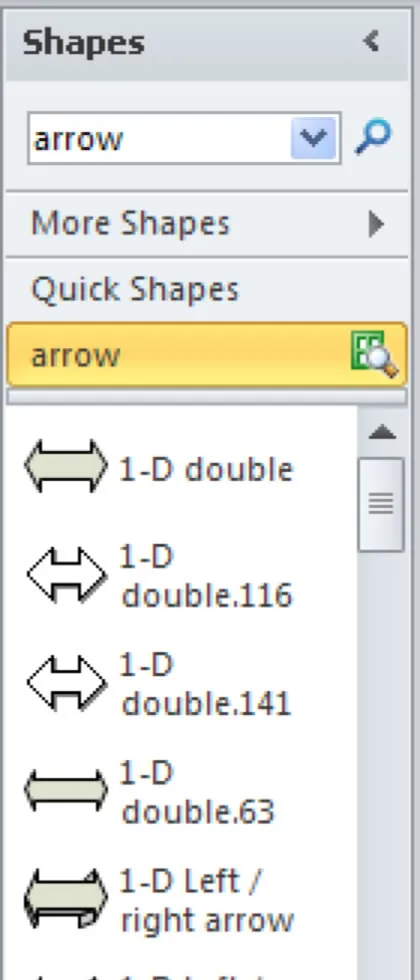
Use the following procedure to search for shapes.
- Select More Shapes from the Shapes pane.
-
Select Search for Shapes.

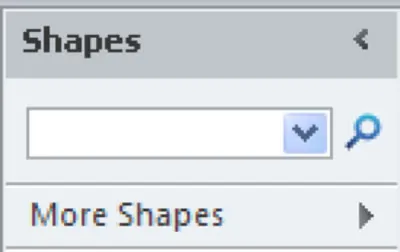
Visio displays a Search field.

- Enter text to describe the shape you want to find.
-
Press the Enter key or select the magnifying glass to begin the search.
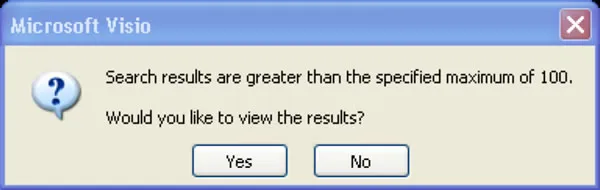
If there are many matches, Visio displays the following warning.

-
Select Yes to continue.
Visio displays the matches in the Shapes pane. Use the scroll bar to scroll down to see all of the matching shapes. Also see how to create an Organization Chart using Visio.


Placing the Shape in the Drawing
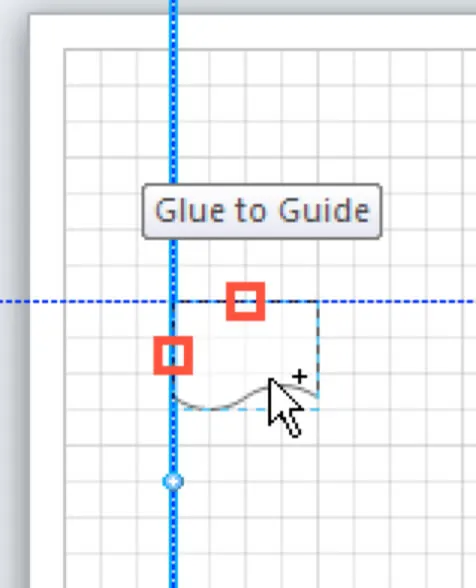
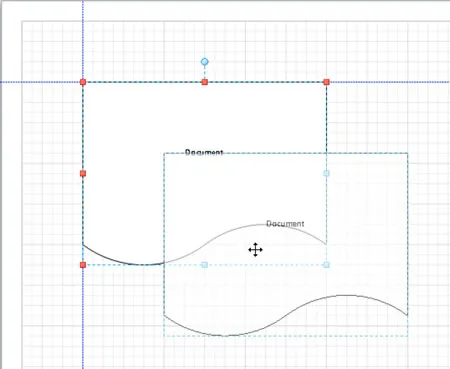
It is easy to drag shapes to your drawing. For greater control over positioning, use your guides or grid to help place the shapes. Use the following procedure to add a shape to the drawing. This example shows the Glue to Guide feature.
- Click the shape you want to use.
- Drag it to the drawing canvas.
- If you want to glue the shape to a guide, position it so that the red box (es) are visible.
- Release the mouse button to position the shape.
Download a free trial version of Microsoft Visio flowcharting software.
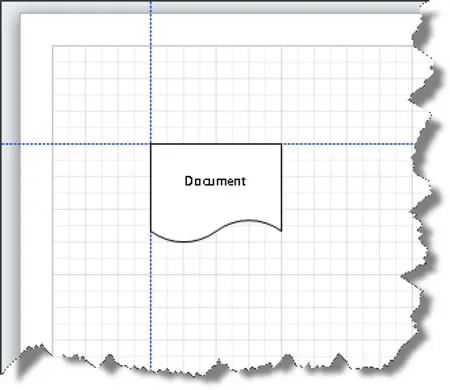
Adding Text to a Shape
Text can bring additional meaning to your diagram. To add text to a shape, simply double-click on the shape. Use the following procedure to enter text in a shape.
- Double-click on the shape.
- Type your text.
Use the following procedure to delete a guide.
- Click on the guide you want to move.
- Press Delete or Backspace on the keyboard to delete it.
Resizing, Moving, and Deleting Shapes
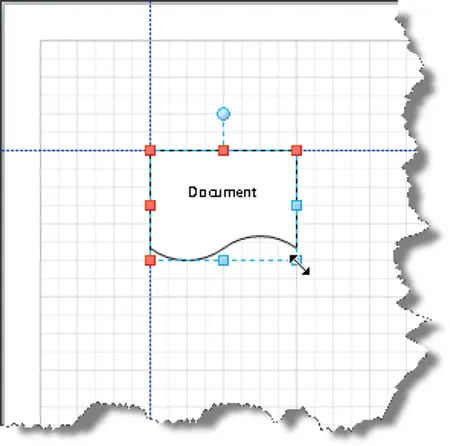
Shapes can be adjusted by size and position on the drawing. You can also simply delete a shape that is not working for the drawing. Use the following procedure to resize a shape.
- Click on the shape to activate it. Visio displays handles around the shape to show that it is active.
- When you move your cursor to one of the corner handles, the cursor changes to a double-arrow. Click and drag the handle to resize the shape proportionally. Release the mouse when the shape is the size you want.
Use the following procedure to move a shape.
- Click on the shape to activate it. Visio displays handles around the shape to show that it is active.
- Drag the shape. The cursor appears as a cross of double arrows.
- Release the mouse when the shape is in the new position.
Use the following procedure to delete a shape.
- Click on the shape to activate it. Visio displays handles around the shape to show that it is active.
- Press the Delete key.
Using the Tools Group
The Tools group includes a number of tools to help you complete your drawing.
- The Pointer tool is used to select shapes and other objects.
- The Connector tool allows you to connect shapes.
- The Text tool allows you to select text in a shape or type free-form text on your drawing.
- The Rectangle, Ellipse, and Line tools allow you to draw basic shapes.
- The Connection Point tool allows you to add, move, or delete connection points on shapes.
The Text Block tool allows you to move, resize, or rotate the text block on a shape. You will find the Tools group on the Home tab of the Ribbon.

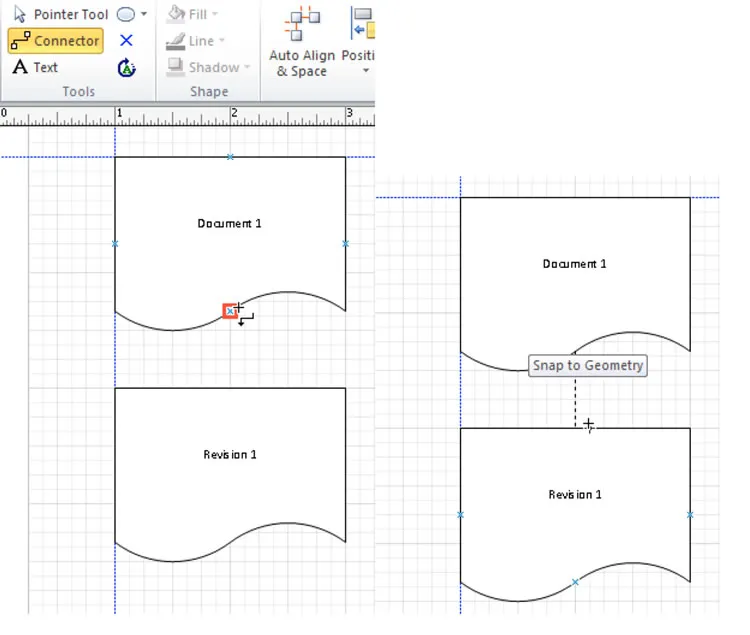
Use the following procedure to connect two shapes.
- Select the Connector tool from the Home tab of the Ribbon.
- Click on the shape you want to connect. The cursor changes to a red square to show that you are using a connection point.
- Drag the connector to the shape you want to connect. Release the mouse to connect the shapes.
Download a Microsoft Visio quick start guide.
