Setting up the screen in Microsoft Visio
In this module, you will learn how to set up your Visio screen. You have different elements to help you create your drawing, which you can show or hide as needed. This module will explain how to add, move, and delete a guide. It will also explain how to change the ruler settings and the grid settings. Also see the Microsoft Visio Interface.
Did you know we offer face-to-face instructor-led MS Visio classes in Los Angeles. For more details give us a call on 888.815.0604.
Showing and Hiding Screen Elements
Visio’s ruler, grid, guides, and connection points can be toggled on or off with the View menu. The Task panes can also be shown or hidden depending on the current need.
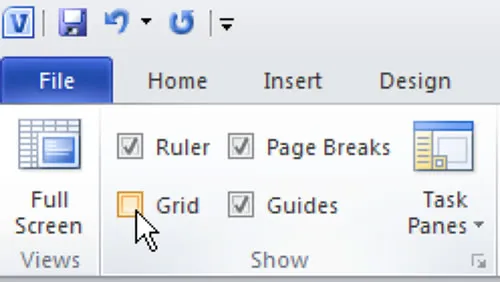
Use the following procedure to hide the grid lines.
- Select the View tab from the Ribbon.
- Clear the Grid box.
Adding a Guide
Guides help you line up the shapes in your drawing. They do not appear on the final drawing when you print or save the drawing as a picture. You can add as many guides as you need, either horizontally or vertically, to help you with your drawing.
Use the following procedure to add a guide.
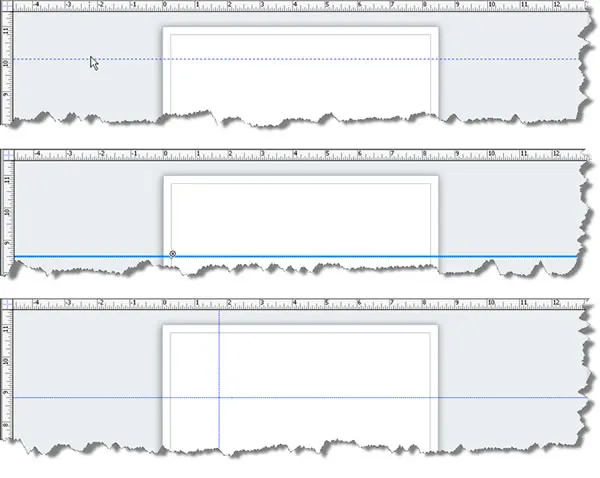
- Click and drag the ruler to create a guide.
- Drag it to the desired location. The guide appears as a dotted line. Release the mouse button to place the guide. The guide is still selected in the second illustration.
Download a free trial version of Microsoft Visio flowcharting software.
Moving or Deleting a Guide
Use the following procedure to move a guide.
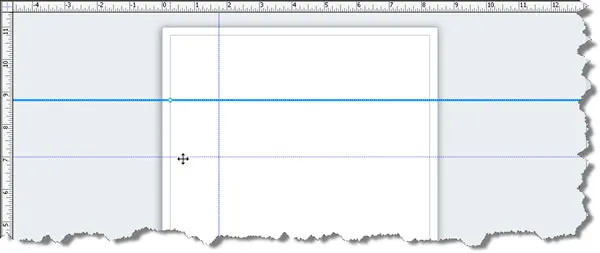
- Click on the guide you want to move. The small circle containing a plus sign, plus the larger blue highlighting of the guide indicates that it is selected.
- Drag it to the desired location. The guide appears as a dotted line. Release the mouse button to place the guide in the new position.
Use the following procedure to delete a guide.
- Click on the guide you want to move.
- Press Delete or Backspace on the keyboard to delete it.
Changing Ruler and Grid Settings
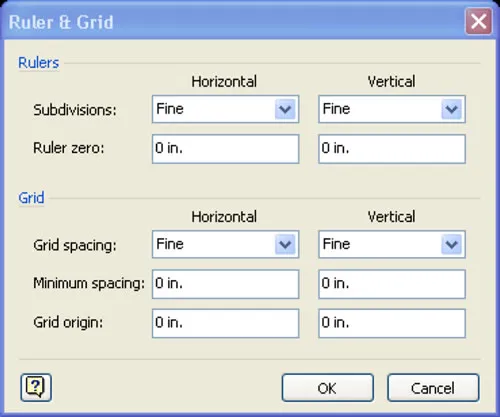
The Rulers and Grid dialog box allows you to customize how you use the ruler and grid in the Visio canvas. You can control the ruler subdivisions or grid spacing, as well as set the origins to help with measuring objects in different positions in the drawing workspace.
Use the following procedure to open the Ruler and Grid dialog box.
- Select the square at the bottom right corner of the Show group on the View tab of the Ribbon.
Get started on your first Visio drawing. Download a Microsoft Visio quick start guide.
