Working With Tables in Microsoft Access
For instructor-led Access training in Los Angeles call us on 888.815.0604.
In this Article, we will learn how to:
- Create a table
- Use table views
Creating a Table
To create a table, click Create → Table:

A new table will then be created with the default ID field:

Press Ctrl + S to save this new table. When the Save As dialog appears, type “Expenses” as a table name and click OK:
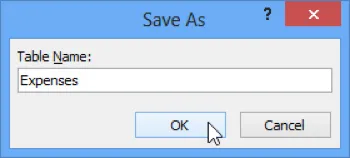
The new table will now be saved within the database using the table name you selected.
Understanding Table Views
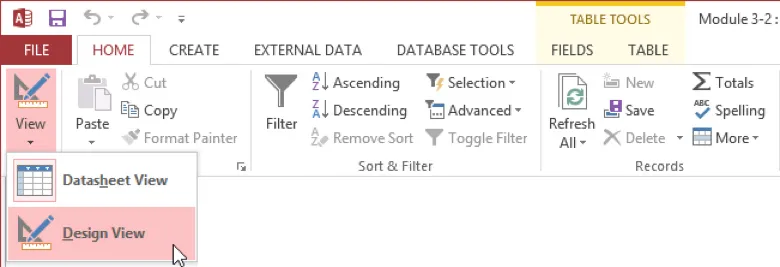
Now that you have created a table, you need to add fields to it. Access 2013 includes Design View to help you add fields easily. To apply Design View, click Home → View → Design View:
In the first field, type “Expense ID:”

Press Tab. This will advance the cursor to the Data Type combo box. Leave AutoNumber as the default data type. Press Tab once more to advance to the Description Field. Type “Unique ID for each expense claimed to the company.”

Use the methods detailed above to enter the following information into the table. Use Tab to move quickly between the fields:

When you are done, switch back to Datasheet View by clicking Home → View → Datasheet View:

A dialog will appear asking if you want to save the table. Click Yes:
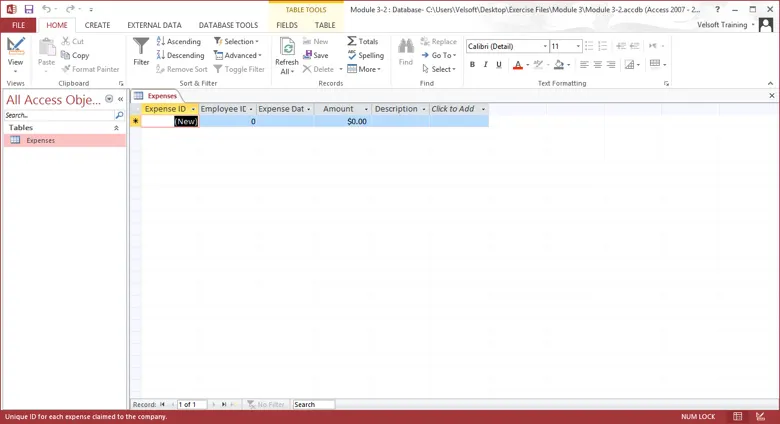
With Datasheet View applied, you can now see the new fields you entered using Design View:
Save your database.
