Excel Essentials - Column Widths and Saving
These topics are covered in Excel Essentials which forms part of our Excel Introduction class.
Quickly Adjusting a Column Width
On occasion, you will discover that the text or values you have entered into a cell are not completely visible. This will occur when the number of characters entered exceeds the width of the column and when data appears in the cell to its right, as shown in column B of Figure 1-8.
In the example, the entries in cells A1 and A2 appear just fine, because there are no entries to the right in cells B1 and B2. If the text or value appears cut off or overflows into a totally different column which will have its own data, you can quickly adjust the column width so you can view the entire cell entry.

Method
To quickly adjust a column width in Excel:
- Double-click the right border of the column heading.
Exercise
In the following exercise, you will adjust a column width in Excel.
- Double-click the right border of the column heading for column A. [The column adjusts to accommodate the long text].
Finishing a Workbook
At the end of the day, or when you have completed your work on a particular workbook, you need to ensure that your work is safely stored. You can save your workbook in Excel a number of ways, even as an Internet-compatible HTML document. In addition, you may want to make a printout of your worksheet to view the latest additions on paper or to share your worksheet with others.
Saving a New Workbook
When you save a workbook in Excel, you tell it to accept every change you've made since the last time the workbook was saved. It's a good idea to save frequently, especially when you enter a lot of data or make major changes. That way, if there's a power outage or surge, you will lose only a few minutes of work.
If you invoke the Save command in an unnamed workbook, Excel prompts you to name the workbook before it will save it to disk. From then on, Excel saves your workbook under that name unless you specify otherwise.
Method
To save a new workbook in Excel:
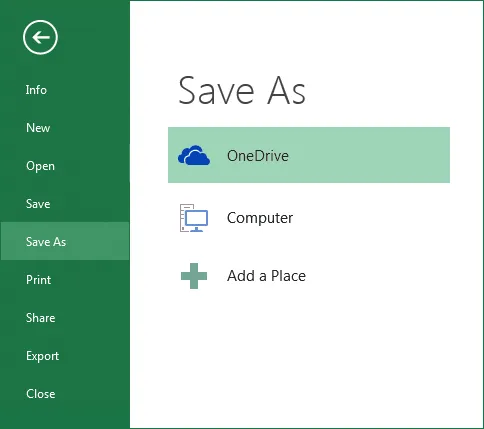
- Click the FILE button, choose Save or
- Click the Save button. On the Quick Access Toolbar (looks like a floppy disk).
- In the Save As dialog box, in the Save in drop-down list box, select the desired drive.
- In the list of folders, double-click the desired folder.
- In the File name drop-down list box, type the document name.
- Choose Save.
Exercise
In the following exercise, you will save your new workbook in Excel.
- Click the FILE button and choose Save. [Save As appears].
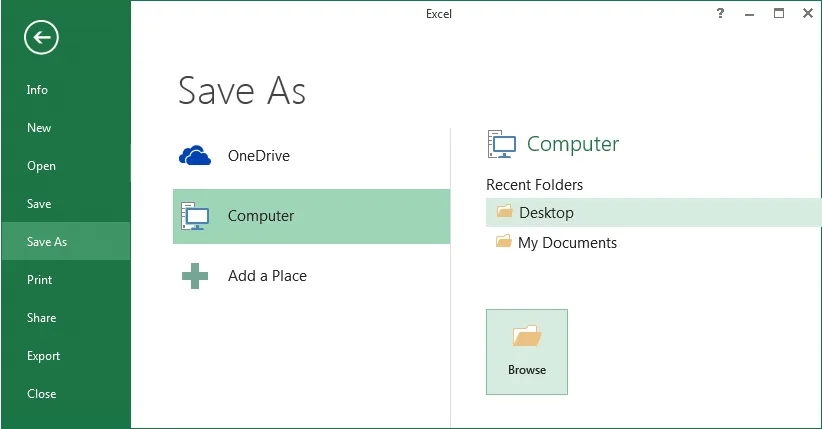
- Under Save choose computer (Figure 1.14). [The available directories on your computer appear].
- In the list of folders, double-click the Data folder. Should the correct directory not appear click the Browse button to locate it. [The contents of the Data folder appear].
- In the File name drop-down list box, type Brian's Orchard 2009 Report.
- Choose Save. [The worksheet is saved as Brian's Orchard 2009 Report and the new name appears in the title bar].
Saving a Named Workbook
Once you have named your workbook, you can save subsequent changes by simply using the Save command. Excel automatically saves it under its current file name. To give you more flexibility, you can also save a named workbook under a different name using the Save As command. One benefit of doing this is that it gives you two copies of the same workbook; you can modify the copy all you want without affecting the "original," allowing you greater freedom for experimentation with formatting and other features.
Method
To save a named workbook with its current name:
- Click the FILE button and choose Save or
- On the Quick Access Toolbar, click the Save button.
To save an already named workbook with a different name:
- Click the FILE button and choose Save As.
- In the Save in drop-down list box, select the drive on which to save the workbook.
- In the list of folders, double-click the folder in which to save the workbook.
- In the File name drop-down list box, type the new name.
- Choose Save.
Exercise
In the following exercise, you’ll make changes to your workbook and save the file under another name.
- In cell D1, enter Draft Only.
- Under Save choose computer (Figure 1.14). [The available directories on your computer appear].
- In the list of folders, double-click the Data folder. Should the correct directory not appear click the Browse button to locate it. [The contents of the Data folder appear].
- In the File name drop-down list box, type Brian's Orchard Draft.
- Choose Save. [The file is saved and the dialog box closes. The title bar displays the new file name].
