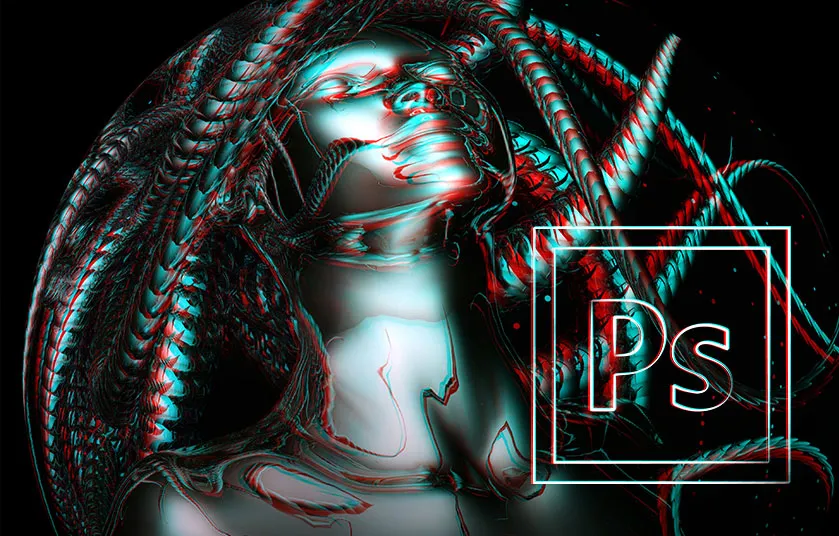
Creating Anaglyph 3D in Adobe Photoshop
By Kristian Gabriel, Adobe Expert/ACI
One of the oldest and simplest methods of creating 3D imagery is a technique known as Anaglyph 3D. Monster and alien movies from the 50's, 60's and even 70's used this type of 3D as a gimmick to bring in audiences and make them feel more like they were a part of the film. As the years have passed and technology progressed and transformed, anaglyph 3D remained a novelty and has maintained popularity with movies, series and social media powerhouses like Youtube.
Join one of our Adobe Photoshop classes offered in Los Angeles - call us on 888.815.0604.
What is Anaglyph 3D and How Does It Work?
Anaglyph 3D is a stereoscopic technique that achieves the 3D look by allowing you to see left and right views of the same image. This image, when delivered to each eye, gets perceived as depth. So how does Anaglyph 3D work?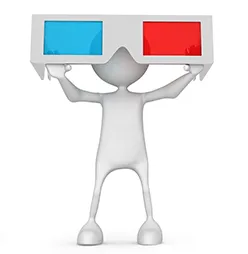
The system uses a two-color system which helps separate the image delivery to each eye, aided by a pair of glasses using those same colors to filter the images. Typically, the colors used are red and cyan, but other colors have been utilized to create this effect.
According to the Tristimulus Theory, the human eye is very sensitive to the primary colors red, green and blue. In the case of Anaglyph 3D, this sensitivity allows the red filter to block out the cyan in one eye and then allows the cyan filter to block out the red, effectively giving you a self-contained stereoscopic image. Confused? No problem! Either way you look at it, here is an easy way to convert your Photoshop images and art into 3D wow projects, assuming you have a pair of 3D glasses!
Creating Your First Anaglyph 3D Art In Photoshop
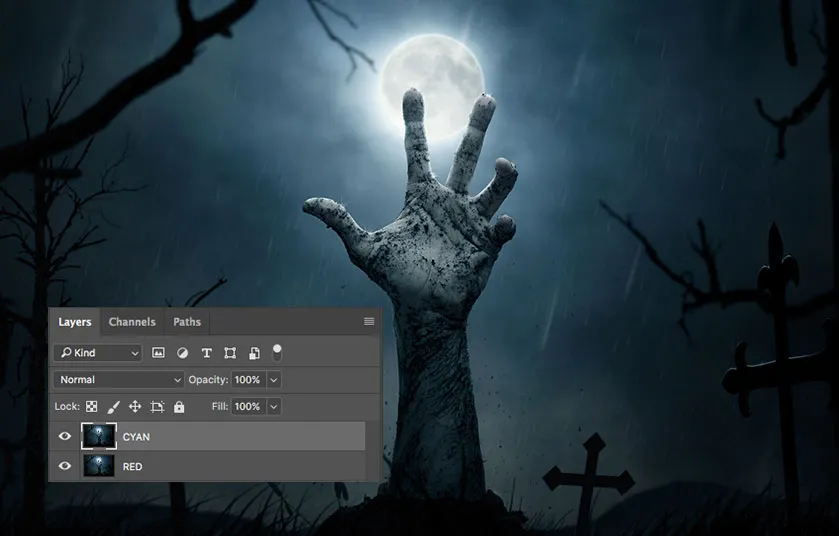
In this exercise, I've decided to use this disturbing stock picture in the spirit of Halloween. If you would like to use this image it is available on the Adobe Stock website (ID#63304760). Otherwise, choose any photograph or image and the results should be the same. Once you have the photo - open it in Photoshop by going to FILE > OPEN. To get the red and cyan from your image to create 3D, do the following:

- DUPLICATE your image in the Layers Panel. This should give you two (2) layers total.
- Rename each layer from the bottom up, Red and Cyan as presented in the photo above.
Now we need to convert our red and cyan layers into usable color information that will produce our anaglyph 3D effect. To do this, we need to manipulate the Color Channels of each individual layer. If your initial thought was to run over to your Channels Panel this would be incorrect. The Channels in your Channels Panel control the global color channels of the entire project. To manipulate the channels of each individual image layer, do the following:
- Select the RED Layer and then go to the bottom of your Layers Panel and click on FX. This will present you with a menu. At the top of this menu, select BLENDING OPTIONS. This will activate the general menu panel for Layer Styles. You will see that in the center of the panel, there are three Channel checkboxes for Red, Green and Blue.
- Since we are on the RED Layer, deselect the Green and Blue checkboxes. Then press OK. You have now told the RED Layer that we only wanted to see its Red Channel.
- Now, select the CYAN Layer and repeat Step 3 (click on FX at the bottom of your Layers Panel and choose BLENDING OPTIONS).
- Since we are on the CYAN Layer and CYAN is a combination of Green and Blue, deselect the Red Channel and leave the Green and Blue checkboxes checked. Then press OK. Now that we have our color channels properly separated, the fun begins.
- Select the CYAN Layer and then use your RIGHT ARROW on your keyboard to nudge your CYAN Layer to the Right about 25 - 40px. That's it!
Tweaking your Anaglyph 3D Media
Put your 3D Glass on and look at your image. Your image should have more depth and look strangely 3D. To get more depth, move the CYAN Layer further from the RED Layer. Now, because we applied this technique to the whole image, you will not be seeing a lot of separation between all the different objects of your image. For even more mind-blowing 3D effects, select and separate each individual object you would like to adjust independently and perform the same 3D technique for each.
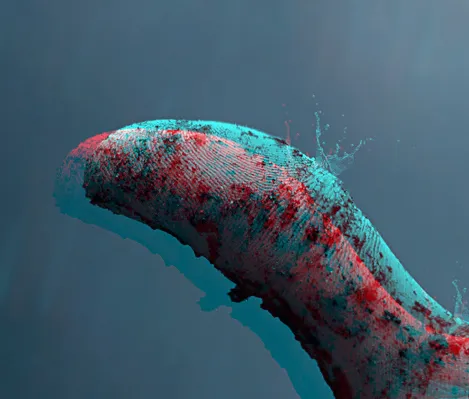
For example, I could select just the arm in this picture. If I separated the arm from the background I could give the arm in the image its own 3D depth. Just remember the rule of law with 3D Anaglyph. The further the color channels are apart the closer the object will seem. The closer the color channels are together the further away the object will seem. Now you can make your own social media 3D posts or create some unique 3D posters!
Achieving Anaglyph 3D in Video with Adobe Software
Harnessing the Anaglyph 3D in Photoshop is truly amazing but what about video? For video, Adobe After Effects would be the weapon of choice. Even if you are working in Premiere, After Effects would still be your best bet to convert live action video and animated graphics to Anaglyph 3D. To achieve this, there is an effect called 3D Glasses.
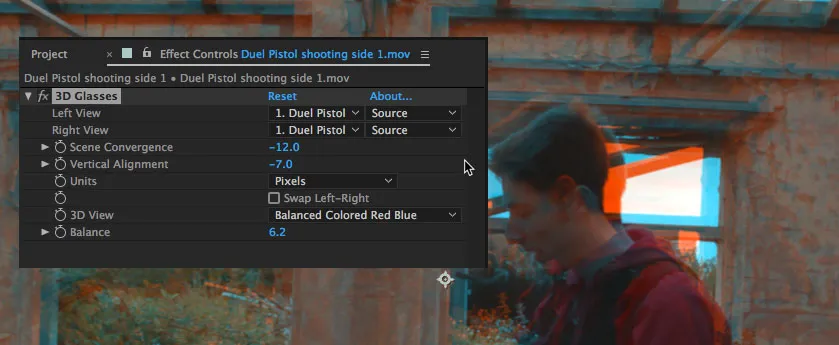
It comes with After Effects and it works identically to the Photoshop technique we just explored, except that it's even simpler! Do the following:
- Add the 3D Glasses Effect to any video layer.
- Select the layer you want to deliver to each eye. To keep it simple, direct the Left and Right View to the layer you want to convert, even if it is the same layer you added the 3D Glasses effect on.
- Switch 3D View to BALANCED COLORED RED BLUE. Warning: Don’t get this confused with some of the other selections in the menu which may have a similar name, otherwise the effect won't work correctly with the standard Red and Cyan 3D glasses.
- Now we need to separate the color channels. To do this, use the property Scene Convergence and move the value into the negative numbers. The bigger the number the more dramatic the 3D depth.
Once again, like Photoshop, separate each individual object and adjust the depth independently for a more intense 3D experience. Good luck!
All images created and composited by Kristian Gabriel using Adobe Stock, Techsmith Snag-It and Adobe Photoshop.
-
Address
915 Wilshire Blvd,
Suite 1800.
Los Angeles CA 90017 - Phone (888) 815-0604
- Email Show Email
In person v online training
In line with state protocals we have now fully resumed in person or classroom training.
Trainees still have the option of joining any of our classes remotely via Zoom webinar.
To attend any clasess remotely first add any class to your
cart and then click the small check box below the class. See screenshot below.

You will receive webinar login details for your training 2-3 working days before your class is due to commence.