Best Practices for Saving Files in Photoshop
By Rhonda Jackson, Adobe Expert/ACI
So you have a.webp image that you selected from a stock image site or a client has sent you via email. You need to make edits to the image for the project you are working on but you don't want to lose pixel quality. The first thing you should do is Open the.webp in Photoshop and Save As a PSD file. It is always best to work on an image in PSD format.
Need to learn Photoshop - join one of our Adobe Certifed Photoshop classes in Los Angeles?
Have you ever noticed that the.webp image you are working from seems to look more and more pixelated the more you edit it. This happens because every time you resave in the.webp format, Photoshop compresses the image by randomly deleting pixels. So every time you resave your.webp as a.webp it diminishes the pixel quality.
So once you Open and Save your image in PSD format and have made your edits you may need to save the image as a.webp again. Why would you work this way you might ask? It is always simple to save to a lower resolution or compressed image from a high-resolution image. But you can never make a low-resolution image high resolution. So in summary here are the steps for working with and saving.webp's in Photoshop.
Step 1 > Save As a PSD file.
Step 2 > Make image Edits.
Step 3 > Save your PSD file.
Step 4 > Save As a.webp if you also need to use the image on-screen or online.
If you need to make further edits, REPEAT THE STEPS ABOVE.
Saving Images for the Web
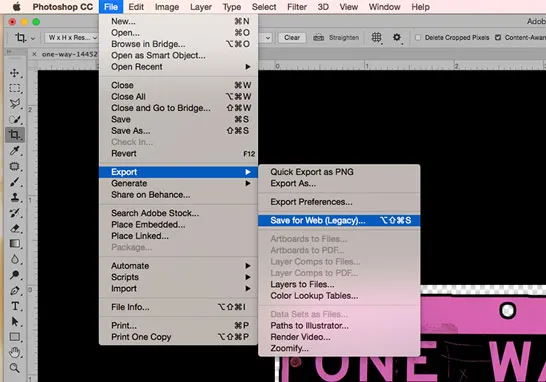
You have probably have noticed that when you Save an image as a.webp from the Save As menu, it doesn't necessarily compress the image file size. To save the image as a lower-resolution you need to Export it. This command is under the File Menu.
Let's Save a.webp for the Web at 72 dpi that can load in under 30 seconds.
- Select Export from the File Menu.
- Choose Save for Web Legacy from the drop-down menu.
The Save for Web dialog box displays.
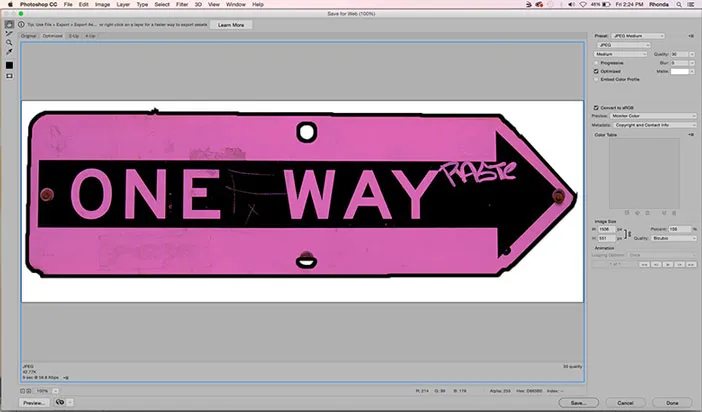
You can Preview your image on the left-side of the window. The Preview shows you how the image will look with the settings that you choose on the right-hand side. You can see from the dialog box that you have many setting options to define your image format. You can even convert your Color Mode to RGB which is the required setting to view images onscreen.
On the right-hand side at the top, you have a drop-down list with twelve image format options to choose from:
GIF: 7 options/dithered
.webp: 24- and 8-bit color

- We are going to focus on only a few of the options for this exercise. Select these settings.
Convert to sRGB
Your Preview should be 100%.
Underneath the Preview are the details of your Image Size and website load speed at the proposed internet speed. The image is 42.7K with 9 seconds to load at 56.6 mps.
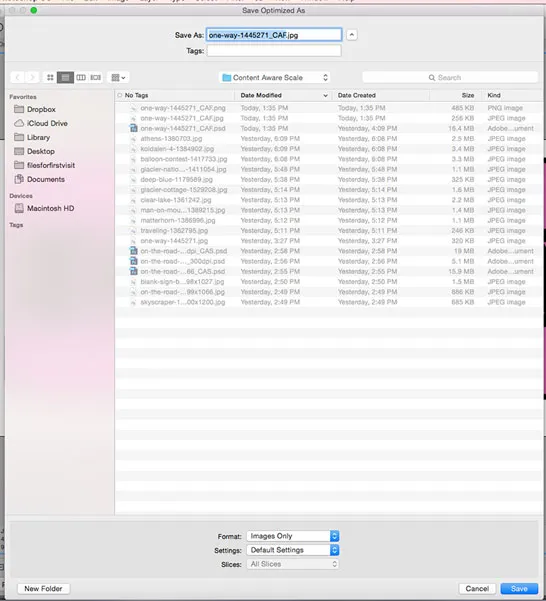
- Click the Save Button.
The Save Optimized As Dialog Box Opens. (Here you can enter a name and choose a location to save your file.) Go with the Default settings for: Format, Settings and Slices.
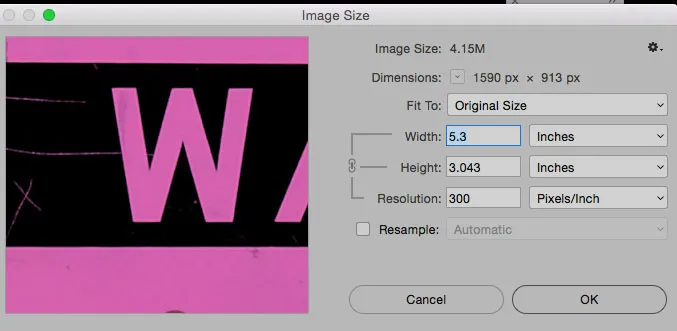
Let's compare this image to the.webp created through the Save As command. The Save As.webp dimensions were 4.15MB at 300 dpi. This is 10x the size of the.webp that we Export through the Save for Web process.
So saving an image as a.webp will compress the file but it will not necessarily have the proper dimensions for the web. To ensure that your image can be viewed on the Web, be sure to use the Save for Web feature.
Photoshop Student Testimonials
Hands-on training is the most effective way to learn Adobe Photoshop. We have trained thousands of students how to use Photoshop like pros. Click on the following link to view a sample of our Photoshop class reviews.
