Using Slide Masters, Part Three
This article is the third part of our tutorial detailing how to use Slide Masters in Microsoft PowerPoint.
For PowerPoint training classes delivered by instructors in Los Angeles call us on 888.815.0604. Onsite PowerPoint training is available countrywide.
In this Article, we will learn how to:
- Preserve slide masters
- Update master slides
Preserving Slide Masters
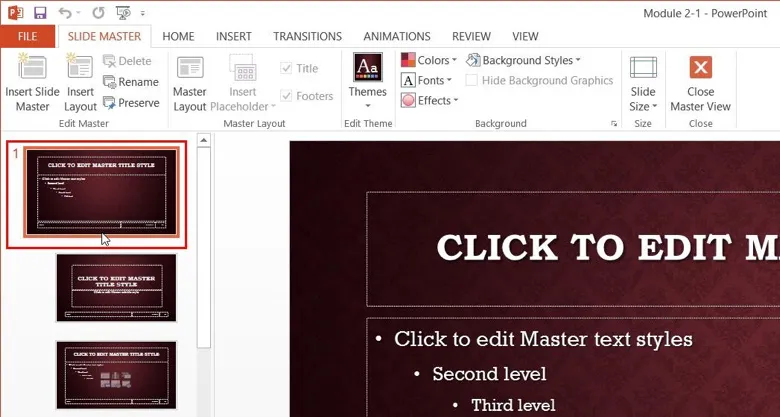
Open Slide Master view by clicking View → Slide Master:

There are some circumstances in which PowerPoint will automatically delete a slide master. This can happen if the slides in the master are deleted or if another layout is applied to those slides. To prevent this from happening, you can preserve slide masters so that they are always saved even if they are not in use.
For this example, select the top-level slide master from the Slides pane:
Next, click Slide Master → Preserve:

The slide master will now be preserved. You can verify this by looking for the small pin icon
![]()
![]()
To toggle this command off, click Slide Master → Preserve again. Save the changes that you have made to the presentation and close Microsoft PowerPoint.
Updating Master Slides
Open Slide Master view by clicking View → Slide Master:

Slide masters are especially useful for making updates quickly and easily. For example, let’s say that you need to change all of the title text in the current presentation. Rather than having to change it all manually directly in the presentation, you can make those changes in the slide master. These changes will then propagate to the presentation automatically.
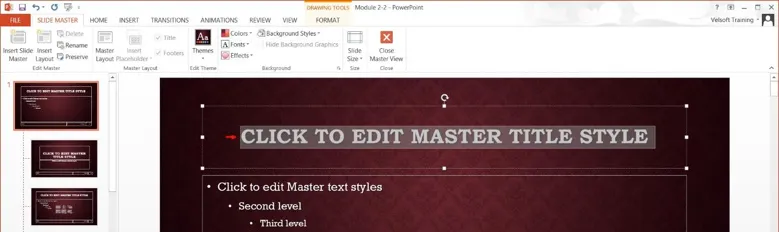
Click the top-level slide master for this presentation. Select the header text:
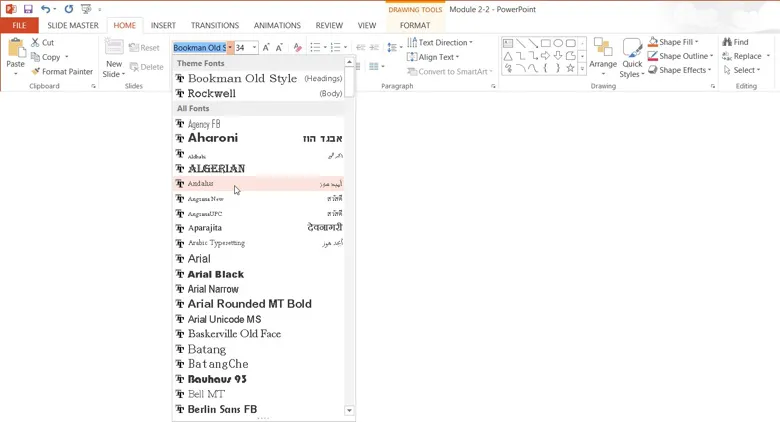
Change this font type by clicking Home → Font → Andalus:
Notice that the rest of the slide layouts update with this change. Now, close Slide Master view by clicking Slide Master → Close Master View:

Back in the normal view of the presentation, you will see that the title text throughout your presentation has been changed to Andalus:

Save the changes that you have made to the presentation and close Microsoft PowerPoint.
