Using Tables in Microsoft Project
Much of the data the system holds can be entered and/or viewed in a table format.
Project has predefined sets of columns (called tables) which display specific information. To apply a different table to a sheet view, click the View tab, click Tables, and then select the table you want to apply:
For instructor-led Microsoft Project training in Los Angeles call us on 888.815.0604.

Inserting columns
It is possible to add/remove columns from any of the tables, for example if you widen the divider bar on the Gantt Chart you will see that the last column is set to Add New Column:
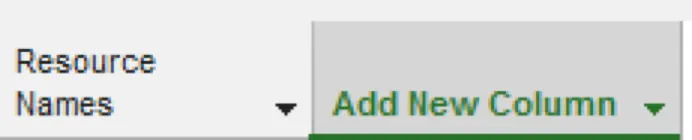
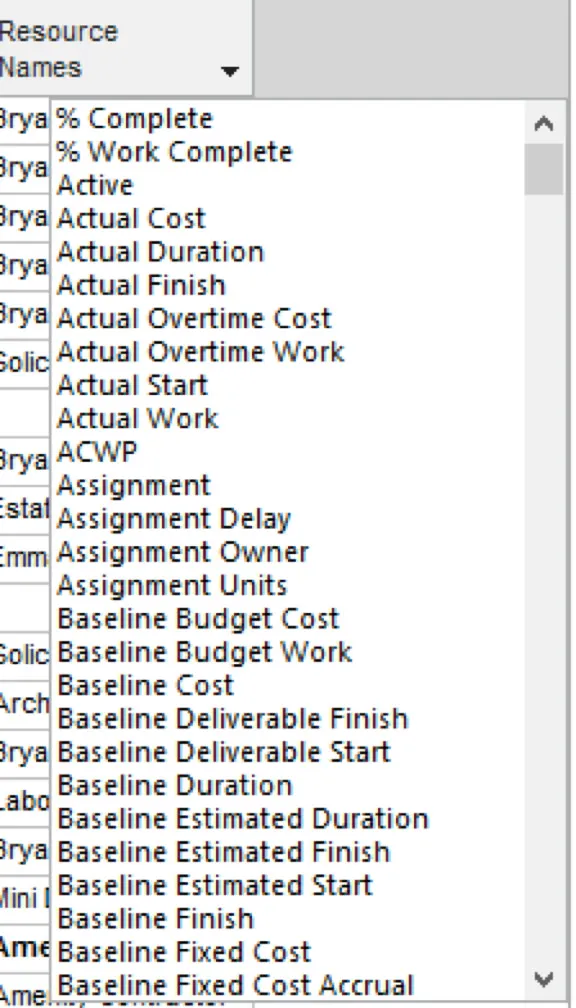
Click Add New Column to see a list of possible columns you can insert:
Tip: You can also right click any existing column heading and choose to Insert a Column.
Remove (hide) columns
- Click the column heading and press delete on the keyboard - you will never delete the column, you are simply hiding it from the view.
- Click undo to immediately undo this action - or insert the column using the steps above.
Modifying (or editing) an existing Table using the Table Definition Dialog Box
On the View tab of the Ribbon, select Tables - More tables:
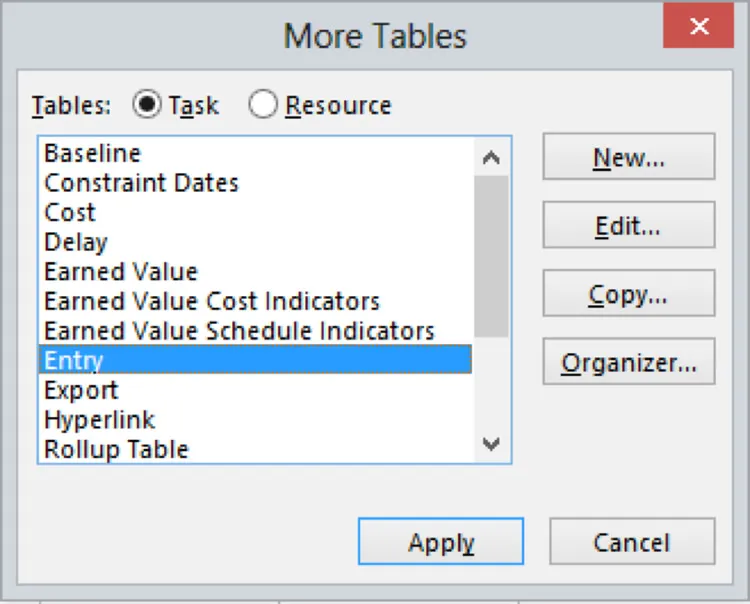
Select from this list the one you want to change/modify and click Edit.
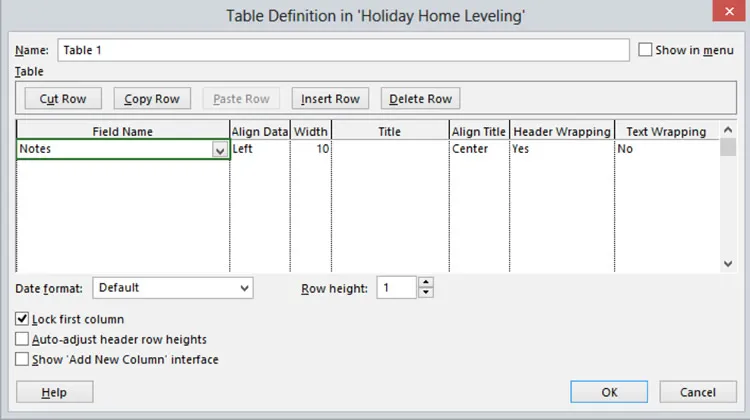
The Table Definition dialog box shows a list of the fields (columns) that make up the table. It is possible to change the width of an existing column, the alignment, or the column title as well as inserting and deleting columns:
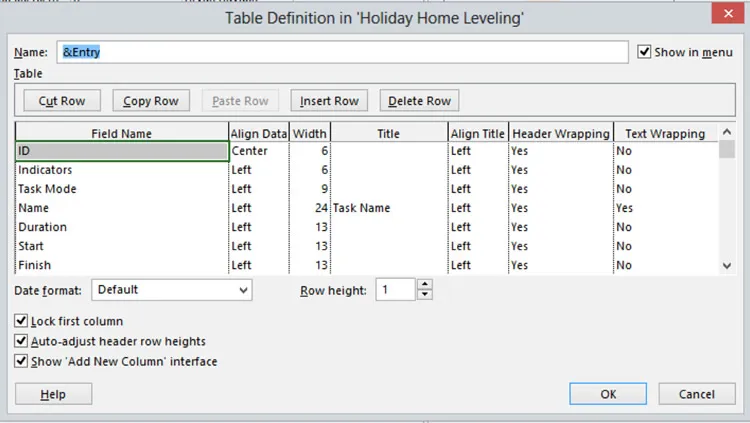
- Position the pointer at the required position and click the Insert [Row/Column] button. A space will appear and the new field can be selected from the drop down list
- To remove a field, point to it and press the Delete button.
Microsoft Project 2013 Quickstart Guide.
Creating a New Table
New Tables can be created by selecting the New button from the More Tables dialog box.
The structure of the table is built up by selecting the fields in the appropriate order.
Tip: Check the box Show in menu so that it is easy to apply your new table.
Formatting table
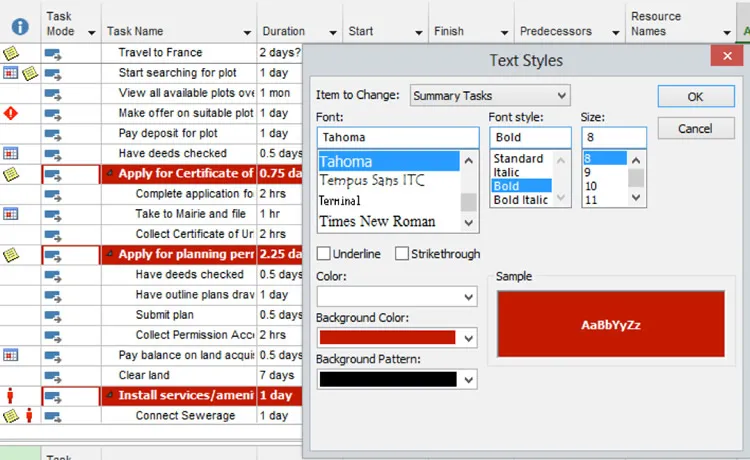
Click the Text Styles command to display the Text Styles dialog box

- From the Item to Change drop down list choose the item (for example Summary Tasks)
- Choose the required Font, Size, Color, etc
- Click OK
Also see Applying Filters in Microsoft Project.
