Using Slide Masters, Part Two
This article is the second part of our tutorial on how to use Slide Masters in Microsoft PowerPoint.
For instructor driven PowerPoint training classes in Los Angeles call us on 888.815.0604. Onsite PowerPoint training is available countrywide.
In this article, we will learn how to:
- Work with placeholders
- Change a slide’s layout
Working with Placeholders
Open Slide Master view by clicking View → Slide Master:

Scroll to the bottom of the Slides pane and click to select the last slide layout:
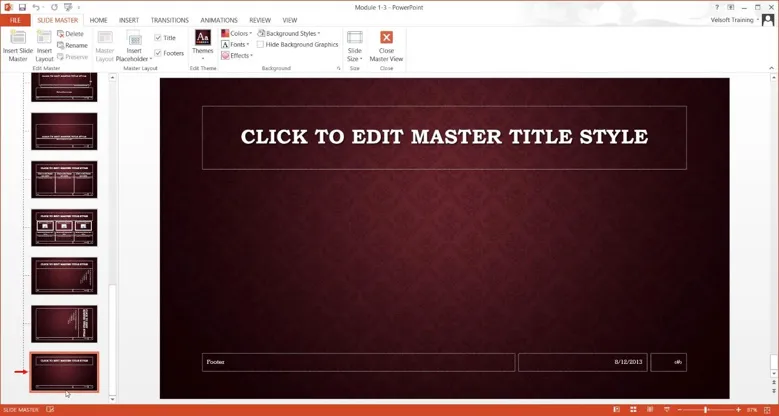
This slide layout contains a title and footer. Our next step is to add placeholders, which will allow the user to insert objects (such as text and pictures) into specific areas of the slide.
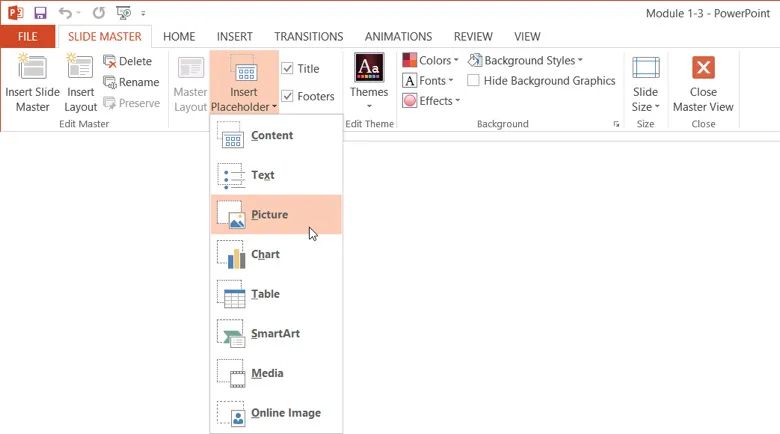
To insert a placeholder, click Slide Master → Insert Placeholder (drop-down arrow):

From the drop-down menu, click on the type of placeholder you would like to insert. For this example, click Picture:
Then, your cursor will change into a crosshair (+) so that you can draw the placeholder. For this example, click and drag to draw a rectangle below the slide’s title:
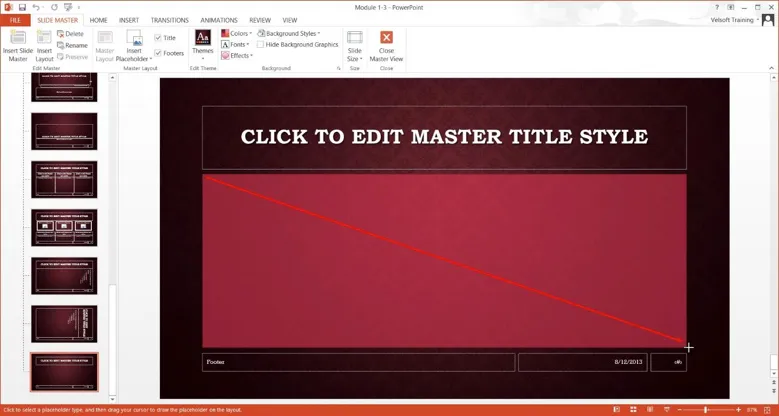
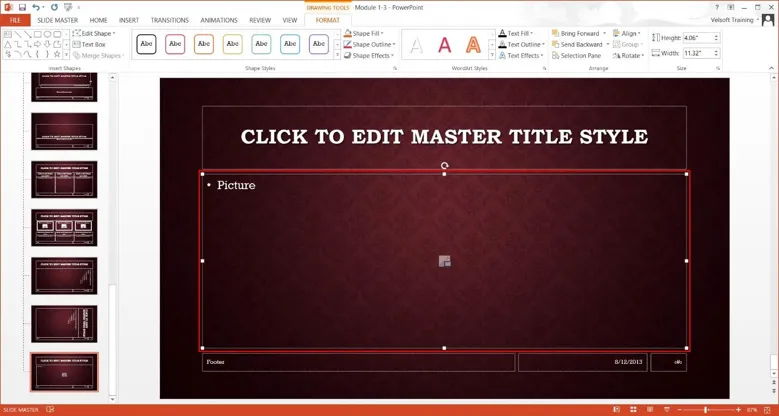
Release your cursor when the placeholder has been drawn. It will be placed on the current slide layout using the dimensions that you specified:
Close Slide Master view by clicking Slide Master → Close Master View:

Let’s create a new slide using the layout you just modified to see how the placeholder works. Click Home → New Slide (drop-down arrow):

This drop-down menu will list all of the slide layouts that exist in the current template, including the new slide layout that you just customized (Custom Layout). Click this slide layout:

A new slide using the layout that you selected will be inserted into the current presentation. Test the placeholder you just created by clicking the picture icon in the middle of it:
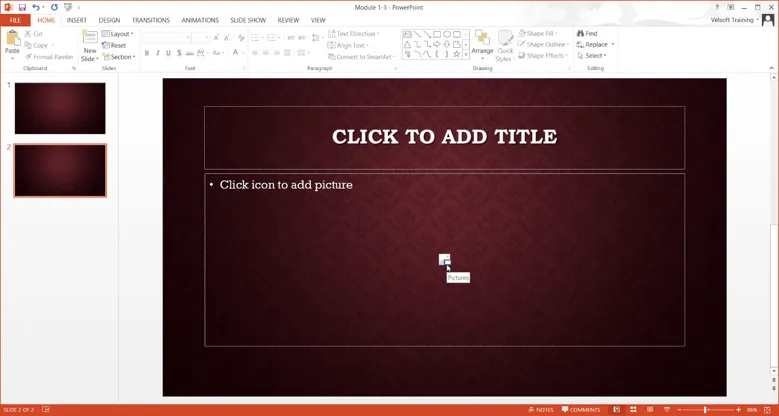
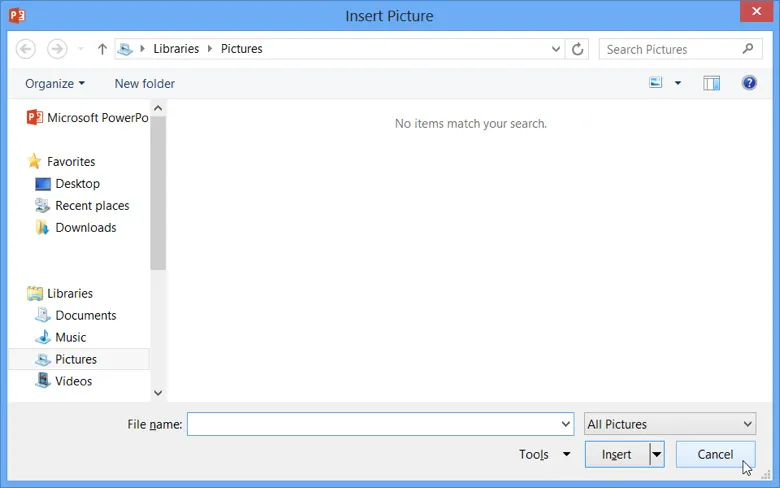
In this case, as it is a picture placeholder, the Insert Picture dialog will be displayed. Using the controls in this dialog, you can search for and select a picture on your computer that you would like to insert into this placeholder. Close the Insert Picture dialog by clicking Cancel:
Save the changes that you have made to the presentation and close Microsoft PowerPoint.
Changing the Slide Layout
To begin, open Module 1-4 using Microsoft PowerPoint 2013.
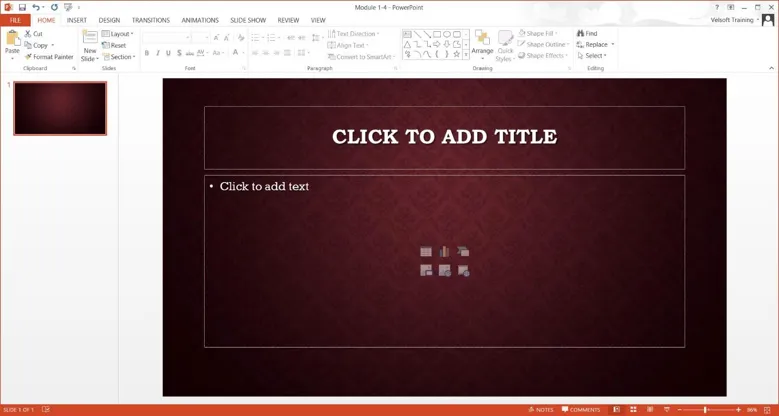
In addition to using layouts for new slides, you can change the layout of existing slides. For example, with the first slide in the current presentation selected, click Home → Layout:

The Layout drop-down menu will then list all of the possible slide masters to choose from. For this example, click Title and Content:

The new slide master that you selected will now be applied to the current slide:
Save the changes that you have made to the presentation and close Microsoft PowerPoint.
