Adding and Connecting Shapes in a Visio Drawing
For instructor delivered Visio training in Los Angeles call us on 888.815.0604.
To begin, open Visio 2013 and create a new drawing using the “Blank Drawing” template.
To add shapes to your drawing, you first need to open the stencil in which the shapes you would like to add are found. For this example, click More Shapes → General → Basic Shapes:
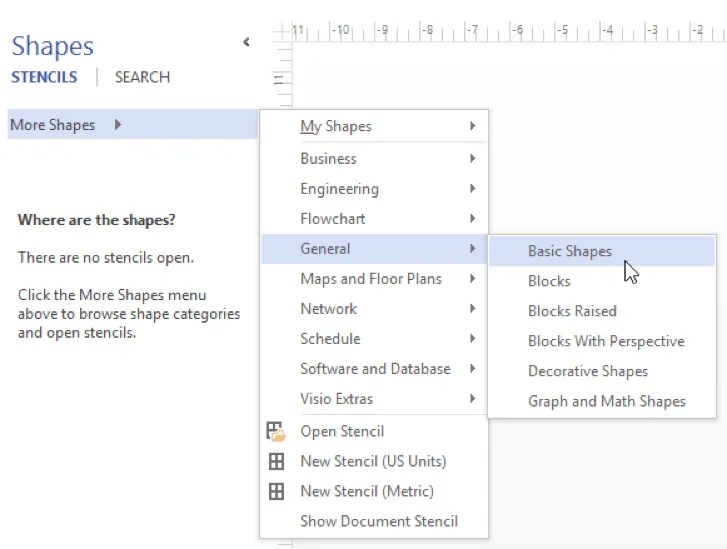
Click outside the menu to close it.
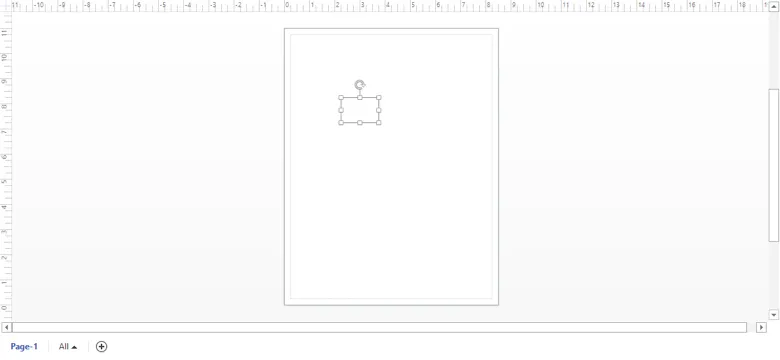
With the Basic Shapes stencil now open in the Shapes pane, add the Rectangle shape by clicking and dragging it onto your drawing. Release your mouse button to place it:

The shape will now be added to your drawing:
Connecting Shapes
To begin, open Module 2-3 using Microsoft Visio 2013.
To connect shapes together, you first need to activate the Connector tool. Click Home → Connector:

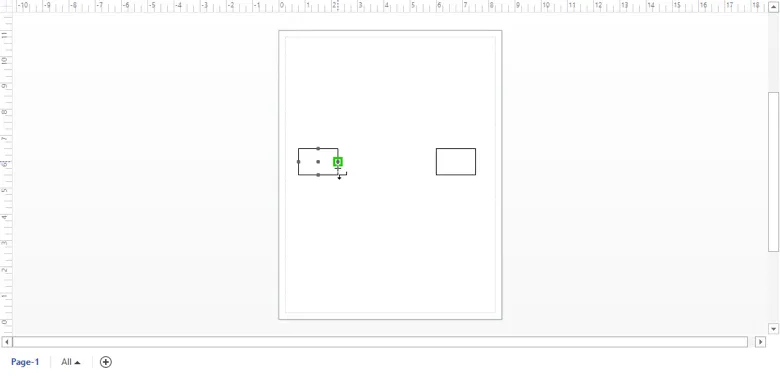
With the Connector tool now activated, move your cursor over one of the shapes that you would like to connect. For this example, focus on the left-most rectangle. When you do this, you will see hotspots appear on each side of the shape as well as in the shape’s center. In this example, move your cursor over the hotspot on the far right-hand side of the rectangle. You will see it outlined in green:
Click and drag from this hotspot to the opposite one on the adjacent rectangle. Release your mouse button when the corresponding hotspot is outlined in green to complete the connection:
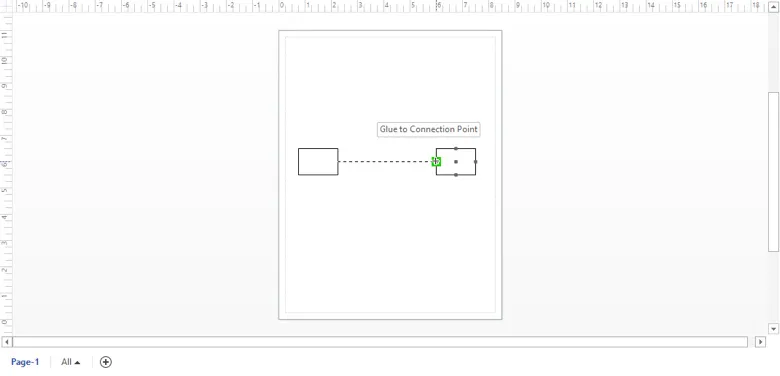
These two shapes will now be connected:

