Working with Select and Mask
Adobe Photoshop, renowned for its extensive array of tools and features, has been an industry standard in photo editing for years. Among its impressive functionalities, one stands out for its remarkable capabilities – the Select and Mask feature. This tool is a game changer for photographers, graphic designers, and digital artists, allowing intricate selections and detailed refinements for a wide range of projects. The quality of your selections in Photoshop has always distinguished amateurs from professionals. With the aid of artificial intelligence, this tool levels the playing field, enabling everyone to create decent selections.
The Select and Mask workspace, introduced in Photoshop CC 2015.5, has dramatically enhanced the selection process. Its main function is to provide a streamlined and intuitive environment to create and refine selections and masks, providing a more accurate output than ever before.
Understanding Select and Mask
The Select and Mask tool is designed to handle some of Photoshop’s most challenging tasks. It aids in refining the edges of a selection, making it essential for tasks like cutting out a subject from its background or blending multiple images together seamlessly.
Join an online Photoshop class.
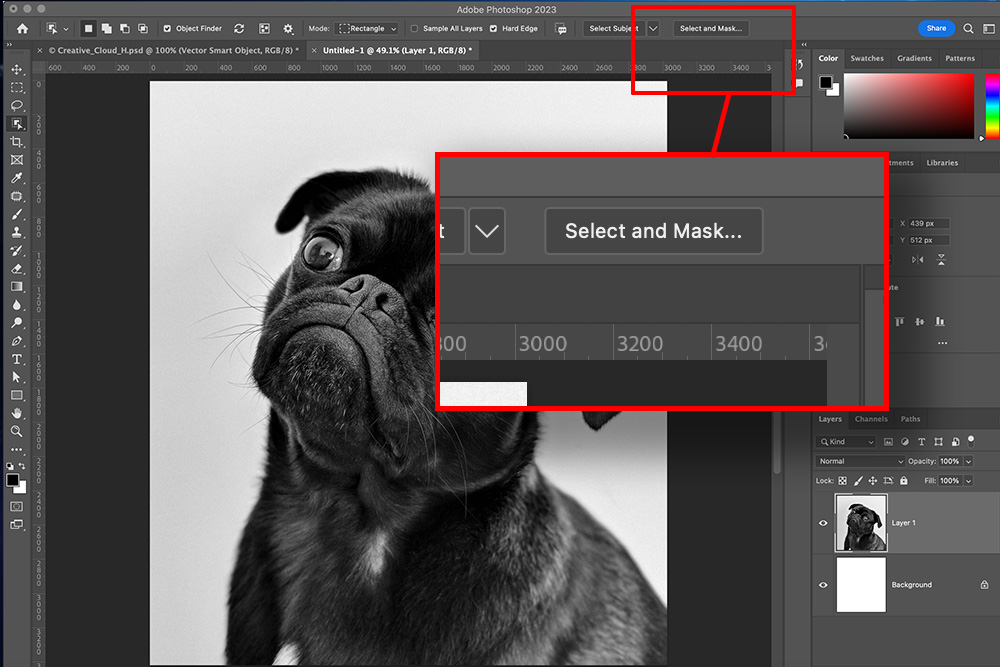
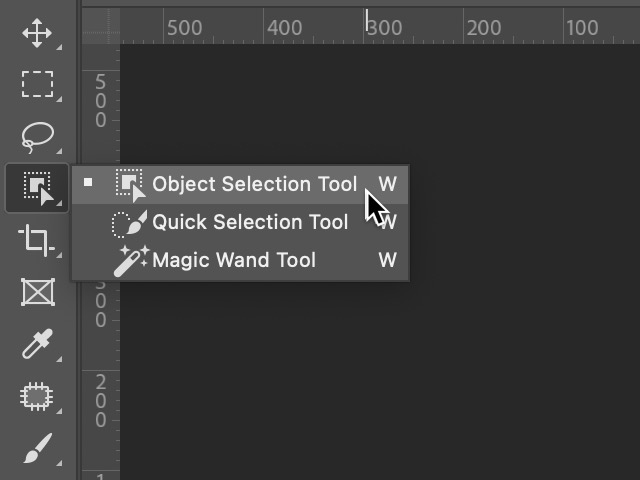
To access the Select and Mask workspace, make a selection using any of the standard selection tools such as the Quick Selection Tool, Magic Wand, or the Lasso tools, and then choose Select and Mask from the Options bar.
The Select and Mask Workspace
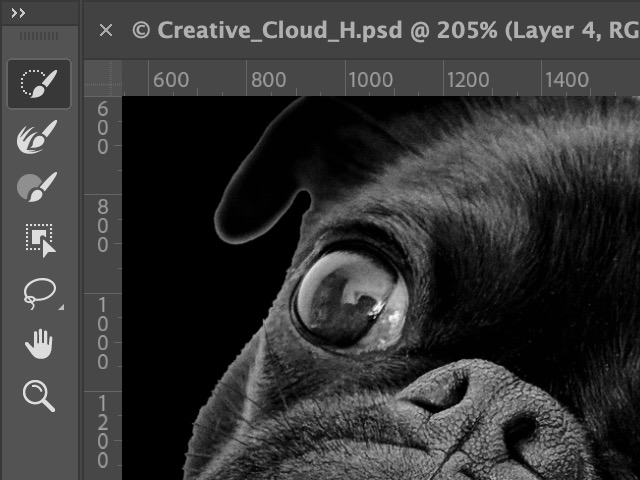
Once you enter the Select and Mask workspace, you will see a range of tools and properties to refine your selection. Here are some of the primary tools you'll encounter:
- Quick Selection Tool: This tool allows you to make quick selections based on color and tone.
- Refine Edge Brush Tool: This is used to fine-tune the edges of your selection, especially helpful when working with complex selections such as hair or fur.
- Brush Tool: This tool allows you to manually add or subtract from your selection.
- Lasso and Polygonal Lasso Tool: These tools can be used to manually draw selections.
- Hand and Zoom Tools: These allow you to navigate around your image while working.
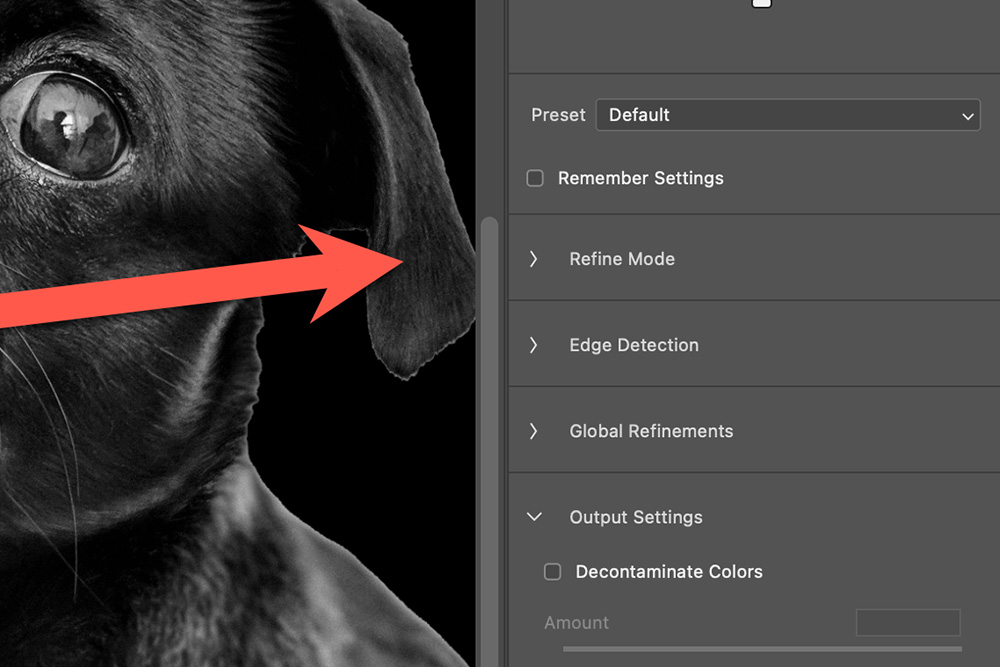
Key Features of Select and Mask
The Select and Mask tool provides several features that make selections more precise and natural-looking. Here are a few of them:
- Edge Detection: This feature automatically identifies the edges of your selection, making it easier to separate the subject from the background.
- Global Refinements: This feature includes settings for smoothing, feathering, contrasting, and shifting the edge of the selection, allowing for an overall refinement of the selection.
- Output Settings: Here you can decide how you want your final selection to be outputted. You can output to a selection, a new layer with a mask, or even a new document.
Select and Mask Workflow
When working with Photoshop's Select and Mask feature, here's a general workflow that can help you achieve accurate and refined selections:
- Open your image in Photoshop and make sure you have the layer containing the object or area you want to select.
- Select the layer and click on the "Select and Mask" button in the options bar (or go to Select > Select and Mask).
- In the Select and Mask workspace, use the various tools and options (described above) to refine your selection.
- As you make adjustments and refinements, it's beneficial to zoom in and out of your image to check the selection accuracy and make any necessary corrections.
- Once you are satisfied with your selection, click OK to apply it. The selection will be saved as a new layer, a layer mask, or in the output format you chose.
Remember, Select and Mask is a powerful tool, but it may require some experimentation and practice to achieve the desired results. Feel free to adjust the settings and try different techniques to refine your selections effectively.
Using Select and Mask in Different Industries
The Select and Mask tool is invaluable across numerous industries. In fashion and product photography, it can be used to isolate subjects from the background, enabling the creation of clean, professional images. For graphic designers, the ability to accurately select and mask complex elements like hair or transparent objects opens up new possibilities for creative compositions.
In the film and television industry, this feature is often used in creating promotional materials, where characters or objects are frequently cut out from their backgrounds. Even in web design, the tool is used to create intricate and engaging visuals.
The Power of the Select and Mask Tool
The true strength of the Select and Mask tool lies in its ability to handle complex selections with ease. With its advanced edge detection and refinement tools, it can handle challenging tasks such as selecting hair or transparent objects, tasks that would be time-consuming and difficult with other tools.
The Select and Mask tool is more than just a selection tool; it’s a testament to Photoshop's commitment to making digital image manipulation more accessible and efficient. Whether you are a professional photographer, a graphic designer, or a digital artist, mastering the Select and Mask feature in Adobe Photoshop is a crucial step towards achieving precision and finesse in your work.
Exploring Advanced Techniques
As you become more comfortable with the basics, you can explore advanced techniques that offer even more control. The Decontaminate Colors option, for instance, can be used to remove any color spill from the background, which is particularly useful when dealing with hair or fur. The Remember Settings checkbox allows you to maintain consistent settings across multiple images or projects, increasing your efficiency significantly.
In addition to these features, it's important to remember that you can always switch back and forth between the Select and Mask workspace and the main Photoshop workspace. This flexibility allows you to make broad adjustments in the main workspace and then fine-tune your selection in the Select and Mask workspace.
Harnessing the Power of Select and Mask for Your Projects
The Select and Mask tool is undeniably a powerful ally in your creative projects. With its help, you can create intricate collages, develop compelling marketing material, or simply perfect your portrait photography. It gives you the control and precision you need to turn your creative vision into reality.
When you understand the power of Select and Mask, you'll appreciate how it can transform your workflow. By enabling you to make precise selections and masks, it not only elevates the quality of your output but also enhances your productivity by making complex tasks more manageable.
Whether you're an experienced professional or a beginner just starting your journey in digital art, the Select and Mask tool in Adobe Photoshop is a feature that you'll find yourself returning to time and again. It's not just a tool—it's a gateway to endless creative possibilities. With practice, you can master this feature and take your digital artistry to new heights.
The Select and Mask tool is a powerful testament to Adobe Photoshop's capabilities, offering an unparalleled level of control and precision. Whether you're working in the film and television industry, graphic design, web design, or photography, this feature is sure to revolutionize the way you work. By mastering the Select and Mask tool, you're not just improving your skills—you're unlocking a new realm of possibilities for your creative projects.
Want to learn how to use Select and Mask and go beyond to become the selection pro you've always dreamed of?